REVIEW – My wife turns into a small furnace when she sleeps. She also likes to be covered by heavy, thick blankets. This is great during the cooler fall and winter months, but becomes problematic during the summer. I also tend to sleep warm and enjoy the embrace of a fluffy, well feathered comforter. With both of us regularly overheating while we slept, our only solution was to turn the air conditioning down to the mid 60’s. Given the power required to cool our house to this degree, we were both very interested in the Ooler Sleep system and the possibility that we’d be able to cool ourselves directly without having to turn our entire upstairs into an arctic wasteland.
What is it?
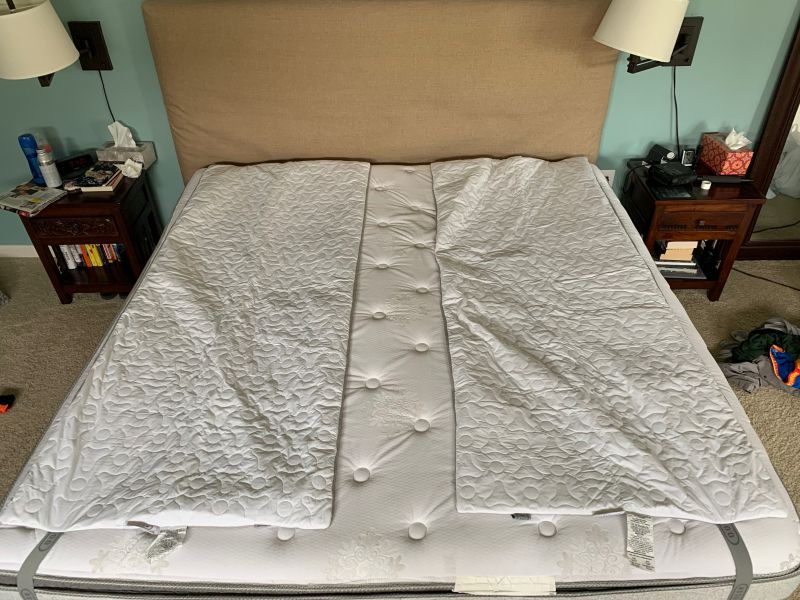
The Ooler Sleep System consists of a hydronic mattress pad and control unit. It’s designed to help you improve your sleep by regulating your body temperature through the use of cooled or heated water circulating through a mattress pad. Ooler states that by cooling your body it will help you achieve a deeper and more restful sleep. Alternately, the control unit can heat the mattress pad as a way of either as a means of gently waking you up or warming the bed on those cold winter nights (much like an electric blanket).
What’s in the box?
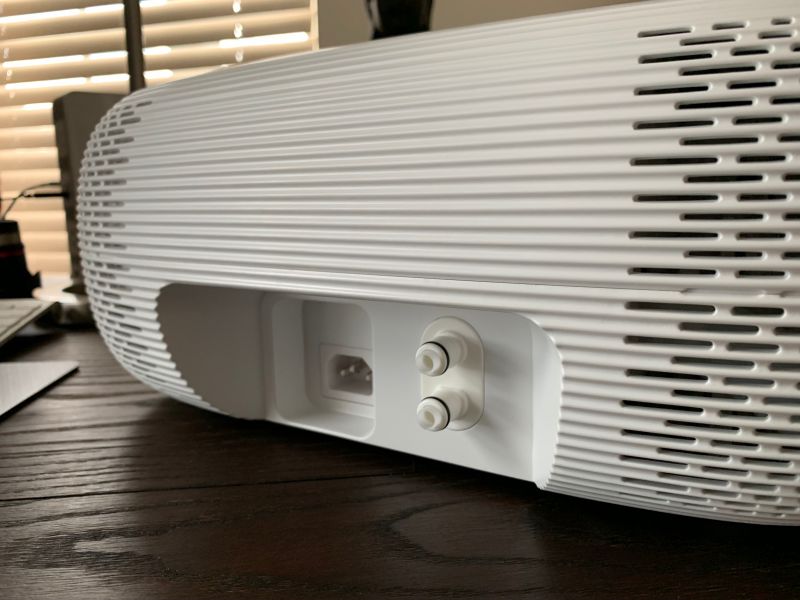
- Control Unit
- Hydronic pad with non-detachable insulated hoses
- App (not technically in the box, but the user is provided with a download code)
- Instruction pamphlet
Design and features
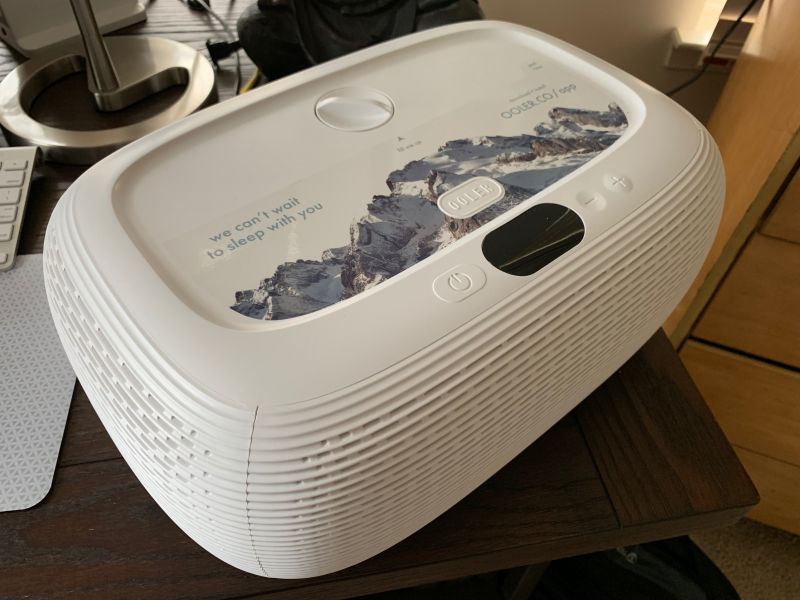
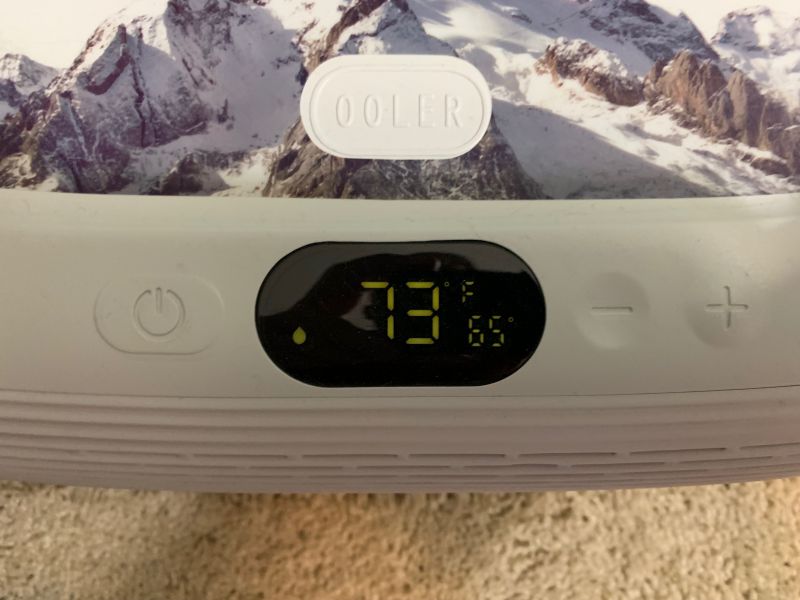
The Ooler Sleep System is designed to keep you cool at night by circulating water through a hydronic pad placed on top of your mattress. The control unit cools the water coming from the pad, sending it back out at temperature you specify (55-110 degrees F). The control unit has a small display on the top that shows the current temperature of the pad, along with a Bluetooth connectivity icon and if needed, a water refill warning light. It also allows you to increase or decrease the set temperature with the plus and minus buttons to the right of the display.
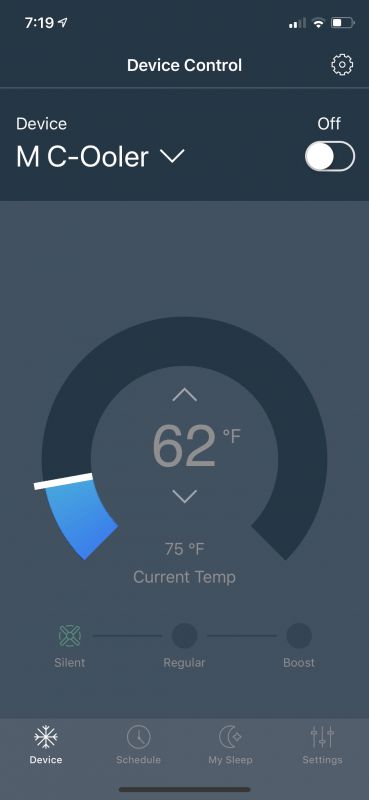
Most of the interacting that you’ll do with the system will be through the app. I should mention that as of this writing, the app is in beta and available only through Apple Testflight, so the final version may differ in functionality from what I’m detailing here. That said, the main screen is where you’ll interact with the most important feature of Ooler: the temperature setting. You’ll see the current temp of the pad and be able to adjust it between 55 and 110 degrees. You can also change the fan speed from silent to regular to boost. We typically left it at silent and it was no more noticeable than our ceiling fan set to a medium speed. Regular was noticeably louder and Boost was significantly louder. We only used Boost when we wanted to cool down the pad quickly. Along the bottom of the screen are icons that allow you to navigate between the device itself (you can have multiple Ooler units connected to a single instance of the app), schedule creation, a sleep rating form and general settings for the device and app.
The scheduler allows you to set the start and stop time of the control unit and what the temperature of the pad should be when you go to bed and wake up. Initially, we set the sleep temperature to 60 degrees and the wake-up temperature to 80. After trying a few colder temps, 65 seemed to be the sweet spot for my wife whereas 60 was perfect for me.
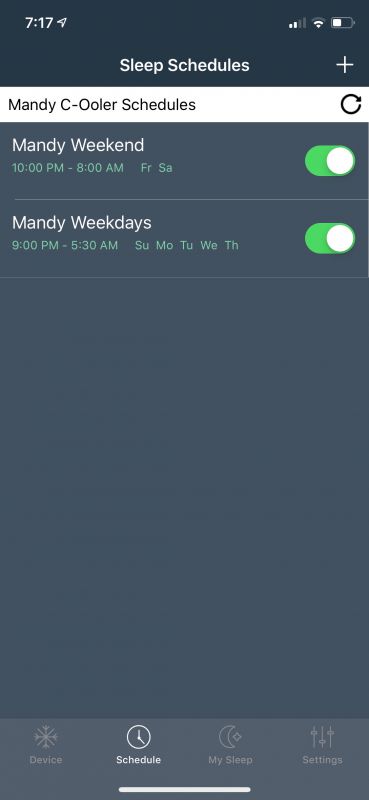
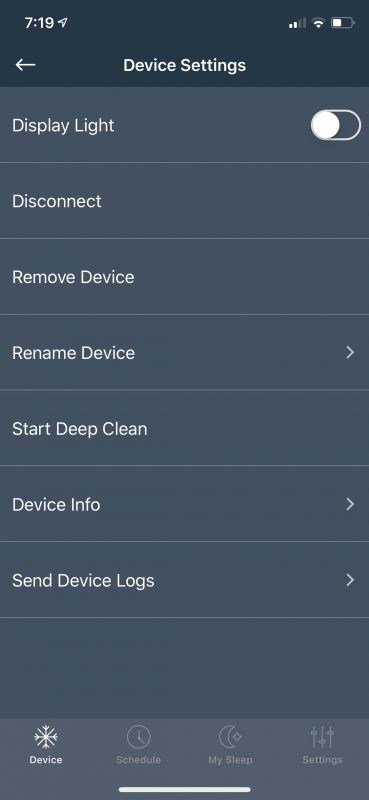
The settings menu along the bottom of the screen allows you access to general maintenance functions such as password resets, Ooler support, firmware updates, and set up instructions. The gear icon on the main screen allows you to turn off the display light, remove or rename a device, enter a deep cleaning mode and displays general device information and logs.
Setup
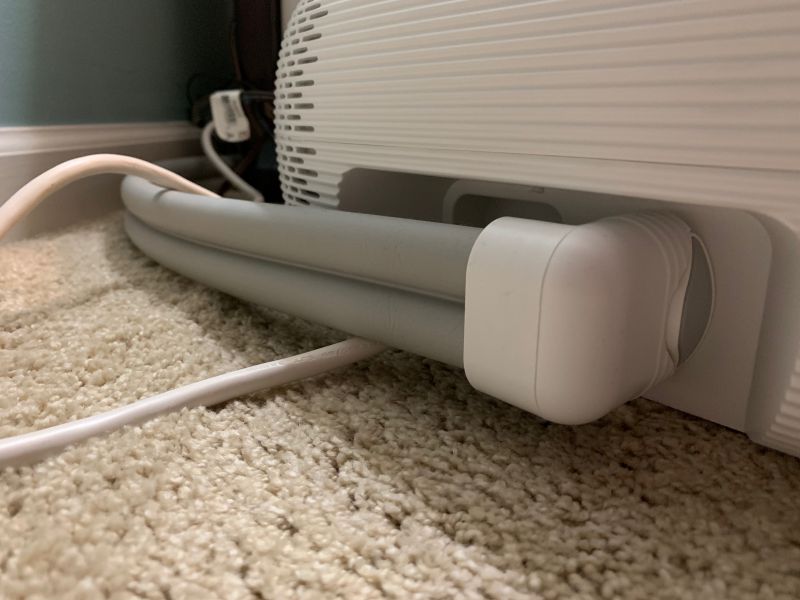
If you can change the sheets on your bed, you can set up the Ooler system. The pad comes with two elastic bands that wrap from the top to bottom, allowing you to secure it to your mattress. This minimizes the extent to which the pad will shift if you are someone like me who moves around a lot at night. You then attach the two hoses connected to the pad to the back of the control unit. They seat firmly in the unit and you’ll know they’re connected when you hear a click. Once this is done, you fill up the control unit with water (distilled is suggested so as to limit mineral build-up inside the machine). You then turn on the control unit and allow it to cycle the water through the pad. Once the control unit has circulated for a few minutes, you may have to add more water. Aside from connecting the optional app to the control unit via Bluetooth, that’s all you need to do.
Performance
So, with all of the technical details and set up out of the way, how did it perform? Both my wife and I are pleased to say that we definitely noticed a difference in our sleep quality from before using the Ooler Sleep system. I found that I didn’t wake up as much during the night and my wife said she slept much more soundly. As she travels for work quite a bit she was also able to compare it with various hotel room beds and came away impressed with the system. To be fair, most hotels are terrible when compared to the comfort of your own bed. However, the Ooler system made her long for home even more than usual.
One thing that initially concerned me about the hydronic part of the mattress pad was that it might feel like I was lying on a waterbed. Thankfully, the amount of water circulating through the pad is was not enough to make me feel like I was floating. It actually felt like I was lying on a normal mattress pad and once I’d used it for a few days I never really noticed it. The only indication of its presence was the fan operating in the background or when I bumped one of the circulation hoses with my arm (I’d positioned them at the top of the bed as I have long legs and figured I’d be likely to kick them in the middle of the night).
What I like
- Provides a noticeable degree of cooling, creating a comfortable sleeping environment
- Fairly unobtrusive in operation and I hardly knew it was there when I was using it.
- The app reliably connected to the control unit and was responsive to temperature changes and other device input
What I’d change
- You can’t do much from the control unit and have to interact with the system mainly from the app
- Depending on how you have the circulation hoses positioned (either at the foot or head of the bed) you may end up hitting them with your arm or foot.
- As the app connects to Bluetooth, I had to be relatively close to the control unit to interact with it. So, if I was downstairs and decided that I wanted to go to bed early, I’d have to go upstairs to turn on the unit. Wifi might be a better way to connect.
- It’s a tad expensive.
Final thoughts
In sum, both my wife and I were pleased with the Ooler Sleep System. It provided a comfortably cool sleeping environment and was able to maintain the selected temperature throughout the night. The hydronic mattress pad was unobtrusive and the control unit fan, at it’s lowest setting, was quiet enough to not bother either of us while we slept. In the three weeks that we used it before writing this review we didn’t have to refill it with water or run a cleaning cycle. While that may change in the winter when the heating ability is used more often, to date, the unit has remained maintenance free. Finally, as it costs $699 on the low end, it’s definitely a investment, but if cooler sleep is what you’re after, the Ooler Sleep System just might be the thing.
Price: $699: Half Queen (tested here), $799: Half King, $1,399: Queen, $1,499: King & Cal King
Where to buy: Chili Technology Ooler Sleep System
Source: The sample for this review was provided by Chili Technology
Filed in categories: Reviews
Tagged: Sleep
Ooler Sleep System review originally appeared on The Gadgeteer on June 27, 2019 at 9:10 am.
Note: If you are subscribed to this feed through FeedBurner, please switch to our native feed URL http://the-gadgeteer.com/feed/ in order to ensure continuous delivery.

