 REVIEW – Dashcams are used to record outrageous occurrences on the road or provide evidence of collision, vandalism, or corruption. However, only Tesla has a built-in dashcam; in other cars, the dashcam is purchased separately. The 70Mai Dash Cam Pro is one of the newest models to hit the market. Read on to see what I think!
What is it?
A dashcam is a small digital video camera that mounts to the dashboard and records the point of view of the driver. Each country and jurisdiction within the country has rules about the use of dashcams and the distribution of the videos that they record, so users must ensure their legal right to operate the camera. These legal restrictions are one of the reasons that automakers generally do not incorporate them. The benefit to these restrictions is that dashcam manufacturers can rapidly develop features outside of the snail’s pace of evolution that automakers are restricted to. As a result, consumers and manufacturers are no longer satisfied with a dashcam as merely a windshield mounted HD wide-angle camera that can store video to a microSD card. As part of this trend, the 70Mai Dash Cam Pro has some very innovative design and features and is an example of the rapid evolution of the dashcam.
What’s in the box?
- 70mai Smart Dash Cam Pro
- Car Charger
- USB Cable
- Two Electrostatic stickers
- Wiring tool
- mounting bracket with heat resistant adhesive
- manual
Hardware specs
- Model: Midrive D02
- Image sensor: SONY IMX335
- Resolution: 2592 x 1944
- Camera: FOV 140° , F1.8, 6 glass
- Wireless connection: Wi-Fi IEEE 802.11 b/g/n/ 2.4GHz
- G-sensor: Acceleration sensor
- Expandable memory: MicroSD card with a capacity of 16-64GB and read/write speed of Class10 and above
- Supported OS: Android4.4/iOS8.0 and above
- Power supply: car cigarette lighter
- Battery type: li-polymer battery
- Battery capacity: 500mAh
- Input: 5V 2A
- Operating temperature:-10C 60C
- Dimensions: 82 x 58.2 x 40.5mm
Design and features
first thoughts
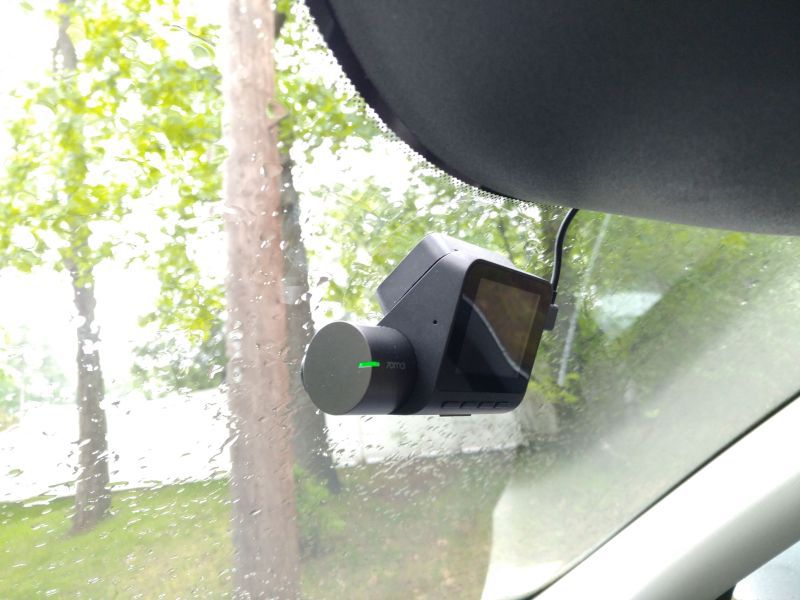
The physical design of the dash cam is very sleek and unobtrusive. This is the first camera that I have seen that supports mounting using an electrostatic film. This is similar to that film that is applied to glass phone screen protectors. Once the film has bonded to the windshield it is held securely in place but may be removed by peeling back one edge without leaving any residue. or film. This design allows the film to be freely repositioned without leaving traces of adhesive. This also permits the camera to be used on rented or other short term vehicle and then returned to the main vehicle. You can see the oval film in the photo below.
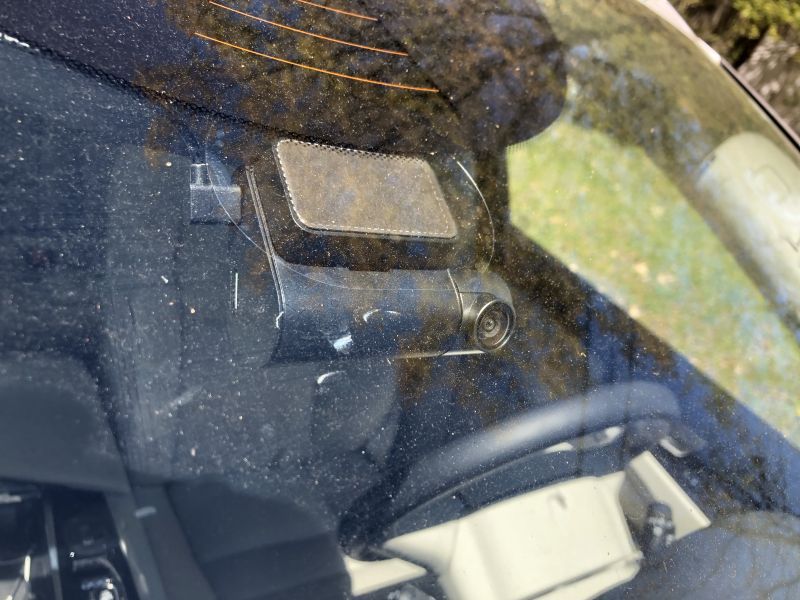
The camera mounts to the windshield so that the LCD display and buttons for the user interface are mounted in a fixed position against the windshield. This is a great option for a vast majority of vehicles but may be difficult to access for some vans or cars that have large windshields mounted at a low angle.
Setup
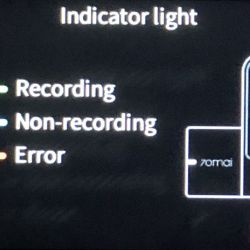
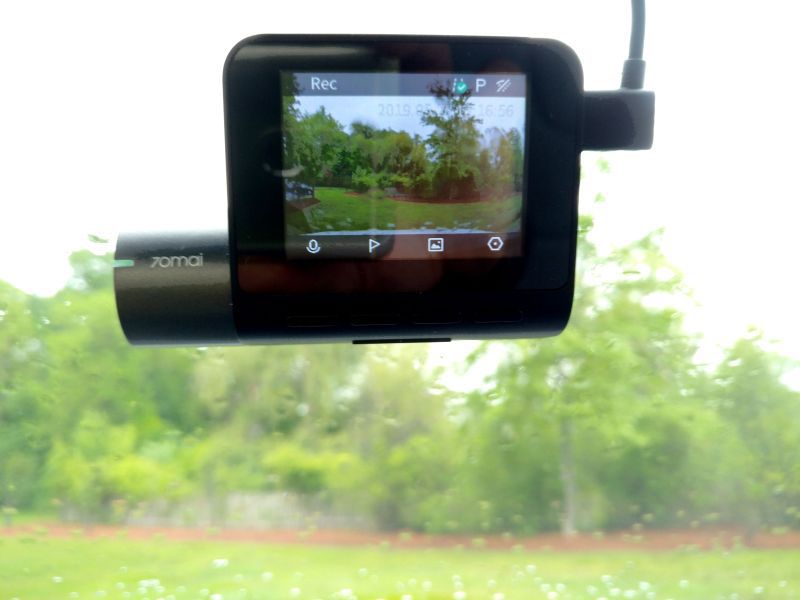
The camera is on the left-hand side and the USB cord is on the right-hand side. I would expect that since more cars are left side drive that the camera would be on the right-hand side so that the camera could be mounted center with the screen and buttons closer to the driver. The camera mount has an indicator light designed to alert the driver so a left side drive was definitely the target platform when the camera was designed. The camera is mounted on a rotating bezel so that the most use of the field of view can be obtained. The camera does not have any left to right adjustment, so the unit must be mounted in the center of the windshield to obtain the best results.
The review sample of the dashcam was provided with an accessory GPS mount holder that has an adhesive on it and is used to mount the camera to the electrostatic sticker. If the GPS mount is not purchased then a standard mount is provided. The mount allows quick connection and disconnection from the windshield without removing the electrostatic sticker. It also has small rubber feet so that it acts as a shock absorber for recording. The camera doesn’t have any built-in image stabilization so a little help from these rubber feet goes a long way.
Once the camera is mounted it looks very sharp and more like a built-in piece of the car versus an accessory stuck on the windshield. The USB power cable is very long, about 10.5 feet, and should allow inconspicuous mounting of the camera cable in a variety of cars. Owners should be careful to not block the operation of airbags. If you are able to remove the A-pillar faring and tie the wire to the other cables running in this area then that is best.
Operation
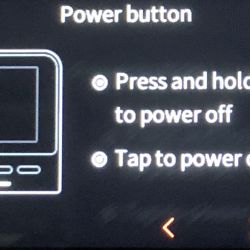
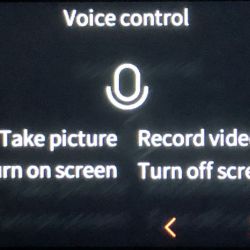
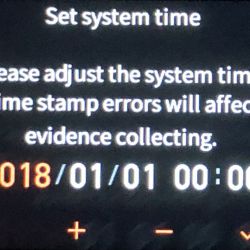
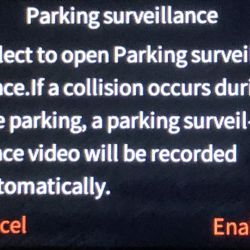
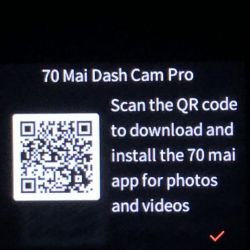
The instruction booklet is in the English language and gives a brief overview of the use. In addition, the camera and electrostatic mounts each come with screen protectors printed with instructive text. The camera screen protector indicates the function buttons and that the unit may be reset by holding the power button for 15 seconds. The electrostatic film protector describes the instructions for mounting the film and camera. The camera also provides some information upon the first use, but there is no way to revisit this information from a help submenu. The gallery below shows what it is like.
The website at the beginning of the book, https://help.70mai.asia/278.html, is quite helpful and provides much more information than the booklet shipped with the camera. Specifically, the website describes the voice control capabilities, the P vs N setting (PAL vs NTSC), the limited number of photos (100), and other items not mentioned in the booklet. (I suddenly long for the hundreds of pages that Microsoft Ofice included in the early ’90s.) One thing I couldn’t find any info on was what the 12V adapter said. The text is very hard to read amber on black and it is in Chinese. Good thing Google translate knows that this says “Dedicated power supply port.”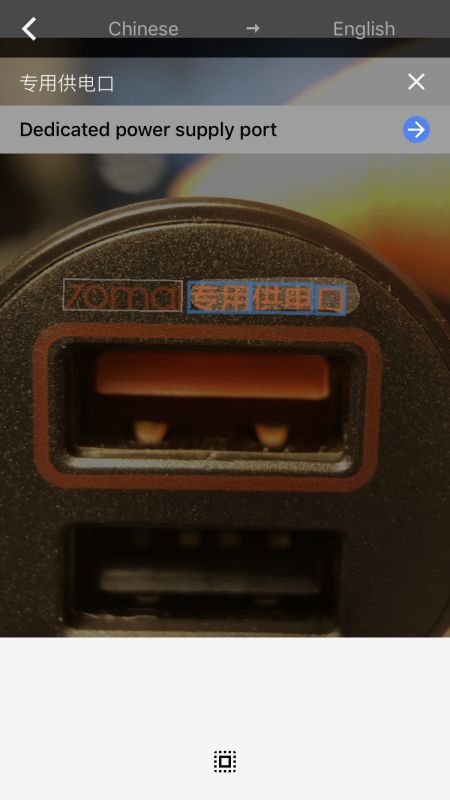
You will need to supply your own microSD card for the camera. The manual recommends a card that is 16 to 64 GB but I used a 128 GB card without issue and it was able to access the whole capacity. The camera records video in one-minute intervals and will delete the oldest video when the capacity of the memory card is nearly exhausted. The card capacity relates to how many minutes of driving record you wish to keep. The card must be formatted in the camera and will have four directories of video storage: Normal video which is the looped record of the drive, Emergency video which is triggered by a hard acceleration during driving, Parking video which is triggered by the movement of the accelerometer after power is cut off, and photo storage. I was surprised to read that the emergency video is also looped. I would think that these videos should be persistent until the storage of the card is full. The recordings are constant bit rate and each video has an audio track even when the audio is not recorded. The audio on silent clips is 1 minute of constant bit rate mono 44kHz 24bit sample.
The camera is able to record video in 4 different resolutions. The higher resolutions are recorded in H.265, which may not be supported natively on all devices and the lower resolutions are recorded in H.264. Each video segment also has a preview video in 640×360 that is downloaded to the mobile app for preview. The total capacity for each video is identified in the table below.
| resolution (pixels) | codec | Frame rate (1/sec) | file size (KB) |
| 2592×1944 | H.265 | 30 | 163840 |
| 2560×1440 | H.265 | 30 | 163840 |
| 1920×1080 | H.265 | 30 | 122880 |
| 1920×1080 | H.264 | 30 | 122880 |
| 1280×720 | H.264 | 30 | 122880 |
| 640×360 | H.264 | 30 | 20480 |
Photos are taken at the resolution that the camera is operating at. Each photo was stored in a 5 MB file. Even the highest resolution photo shouldn’t be more than 2 MB.
It seems based on this table that the incremental difference in the capacity required for higher resolutions is small based on the compression used and the way that video is stored on the card. Apparently, the 128GB card I used was formatted with a 5120 MB cluster size. I also tried a 32 GB card and it was formatted in the same way. The card is readable by a PC or Mac using an adapter.
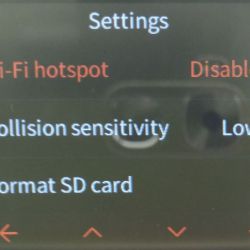
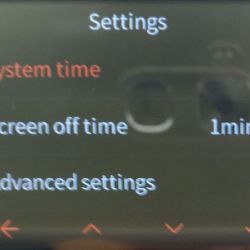
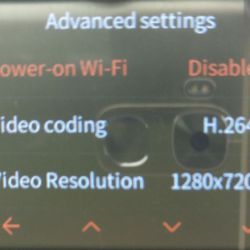
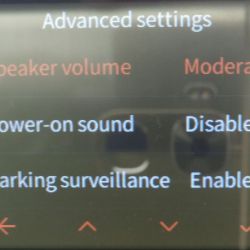
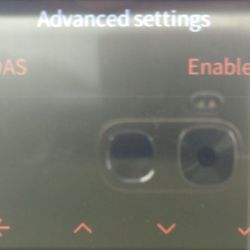
The operation of the camera is menu driven. I think that some menu items are in the wrong place, but here is the layout.
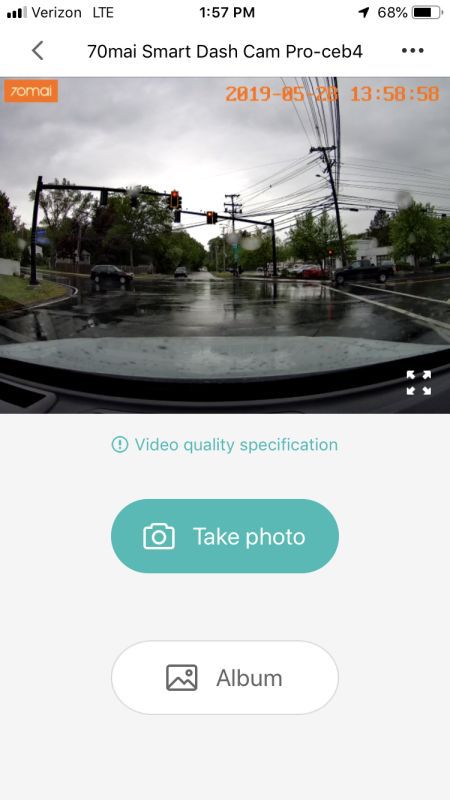
The camera app allows you to manage all of the 70mai gadgets. The app has a local album of videos and photos that you download to the app. The app also has the same info presented on the web page above. The app settings allow you to clear the app cache and provide feedback to 70mai. The main screen of the app is a preview window of the camera feed and allows the user to take a photo using a button on the app. The app pairs with the camera using a WI-FI access point.
Once the power is cut to the camera the camera will remain on standby. if there is any movement detected by the camera in this state it will record a video. The camera also records a video while the car is moving if there is sudden acceleration.
A de-fog algorithm sharpens video taken in snow, smoke or haze but without a way to turn it off, I was unsure how well it works.
There is an optional GPS module that replaces the camera’s mount. The GPS mount enables a feature called Advanced Driver Assistance System, which gives real-time alerts when your car is leaving its lane or rapidly approaching a vehicle ahead. This feature didn’t work as well as my car’s built-in system. What I find frustrating is that the GPS isn’t used to EXIF tag the photos, label the files of the video or set the camera’s time. These should be minor programming changes that could have a profound benefit to understanding what happened on the road and when. One other item is that the operation is restricted to between 14 and 140 degF. Car’s interiors often reach conditions outside of this range and I’m not sure that the parking monitor will work in these extreme conditions.
Performance
I’ve included a few videos of the performance at the links below. Overall the videos are clear. I think that the enhancement that the advertisement shows is more like CSI than reality, but license plates are visible and readable.
This is the manufacturer’s video:
This is my video taken during the day at the highest resolution. The sun is setting to the left of the video but the glare doesn’t wash out the rest of the scene. I bet the couple who got in a collision had one of these cameras.
Here is another video that I captured taken at night. It is impressive how the sensor compensates when the headlights are turned off. It is actually brighter on the video display than it is through the windshield.
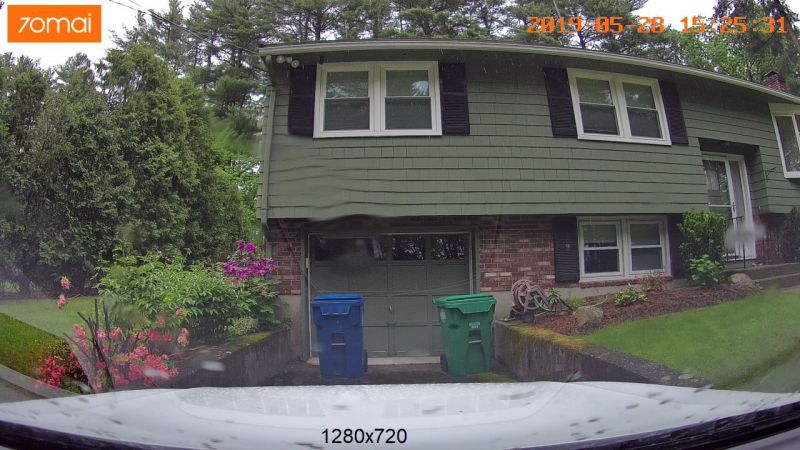
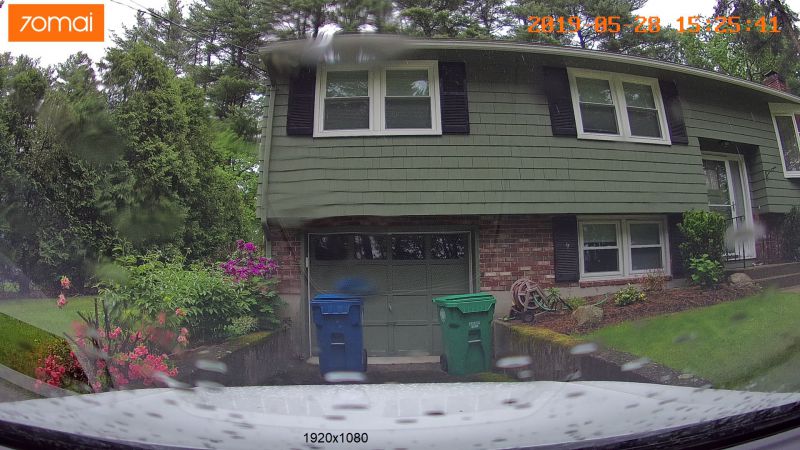
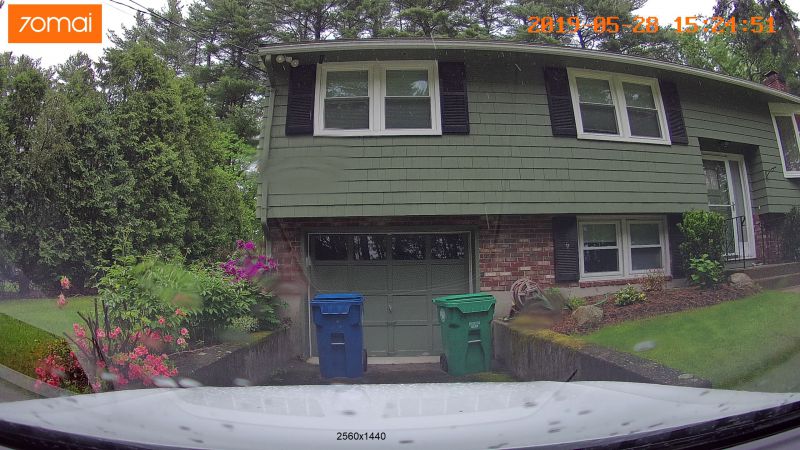
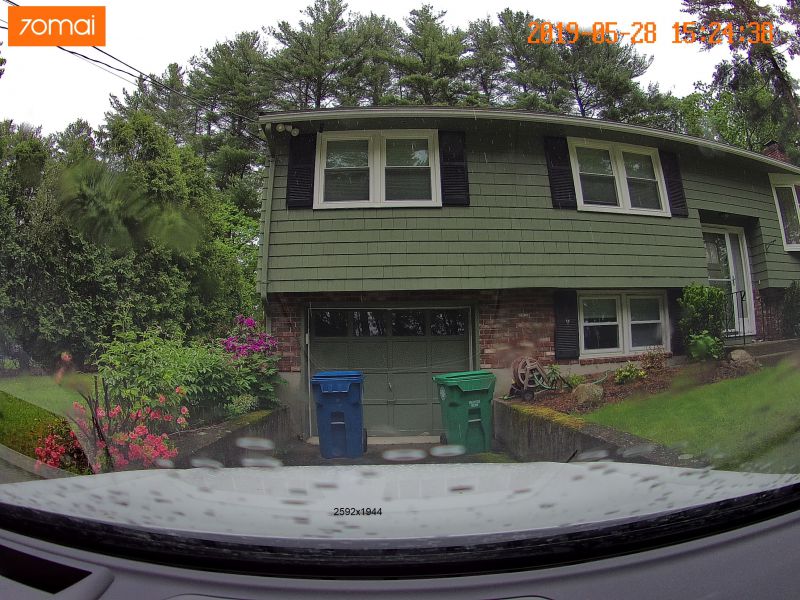
The images of my garage below show the different resolutions available. I added the resolution text but everything else is standard and not configurable.
What I like
- Design
- User interface (both verbal and button based)
- App
What needs to be improved
- ADAS implementation
- GPS integration
- Extreme weather operation
- It is a bit difficult to get the microSD card in and out
Final thoughts
Ideally, the dashcam is the gadget that you won’t know you have until you really need it. This unit’s small size, easy function, and affordable price mean it won’t take up room in your car or burn a hole in your wallet.
Price: $75.97
Where to buy: Amazon
Source: The sample of this product was provided by 70mai.
Filed in categories: Reviews
70Mai Dash Cam Pro review originally appeared on The Gadgeteer on June 5, 2019 at 9:00 am.
Note: If you are subscribed to this feed through FeedBurner, please switch to our native feed URL http://the-gadgeteer.com/feed/ in order to ensure continuous delivery.


