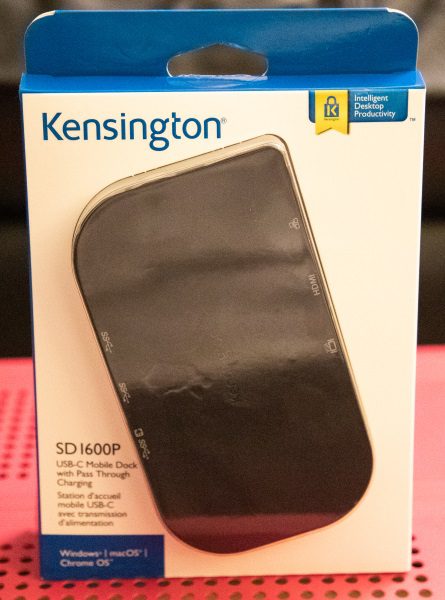
Kensington SD 1600P USB-C Mobile Dock review


REVIEW – As technology evolves, newer and better connectivity options are continuously emerging. One of the relatively recent additions is the USB-C connection, with many devices like the MacBook pioneering this option. As a result, I have been testing a few USB-C docks for performance, flexibility, and connectivity. The Kensington SD 1600P USB-C Mobile Dock is another addition to the USB-C dock/expansion devices. Here is my experience with it.

What is it?

The Kensington SD 1600P USB-C Mobile Dock is an expansion dock that provides multiple and various ports and connectivity via one USB-C connection. It is USB port powered and also includes a USB-C pass-through power delivery port.

What’s in the box
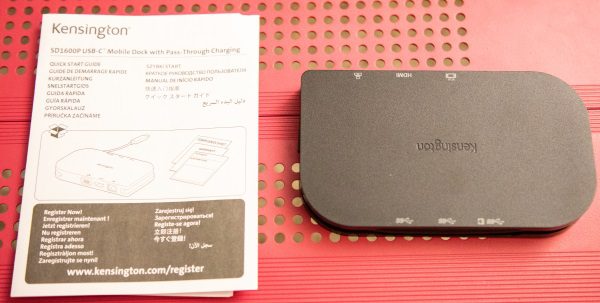

1 x USB-C Dock
1 x Instruction Manual

Design and features

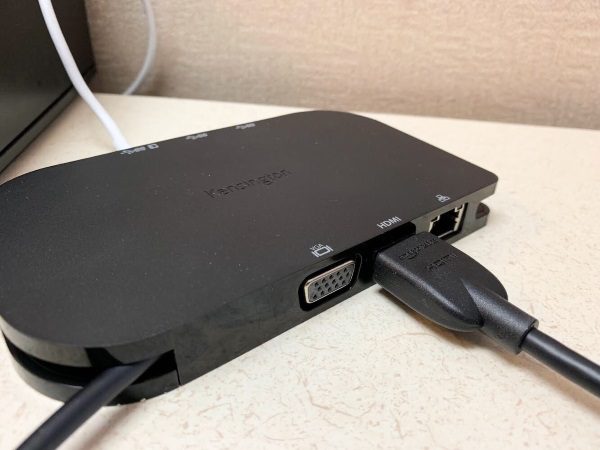
This USB-C hub is compact in size measuring just 5″ x 3″ x 1/2″. It has a built-in USB-C cable that tucks into the side. On one side of the hub, as shown in the picture below, from left to right, there is a VGA port, an HDMI port, and an ethernet port.


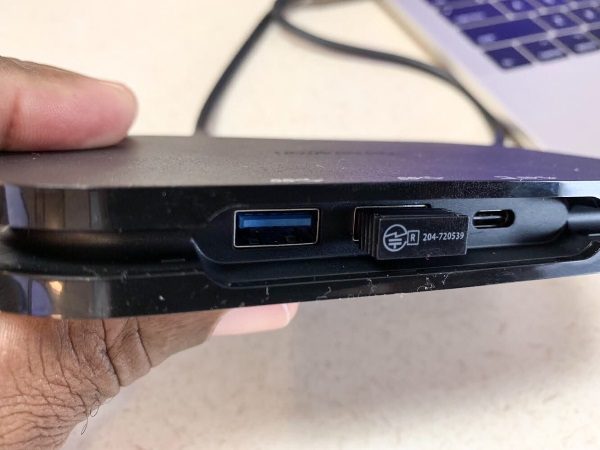
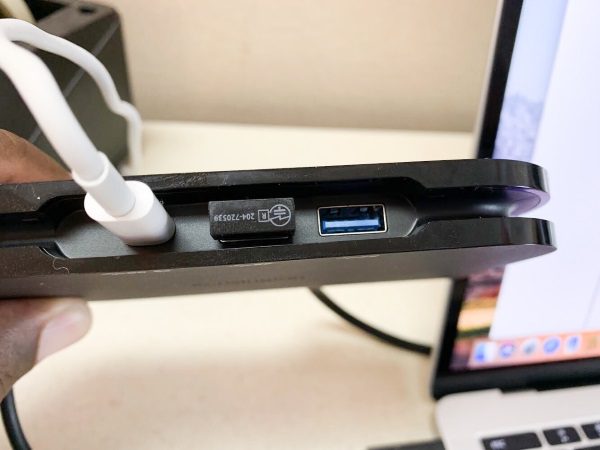
On the opposite side from left to right, there are 2 USB 3.1 ports and a USB-C pass-through power delivery port. As you can see below, I have a USB mouse dongle connected to one of the USB ports. The second picture below shows the USB dongle and the USB-C charger connected.
Below is a picture of the HDMI cable for the external monitor connected to the USB.

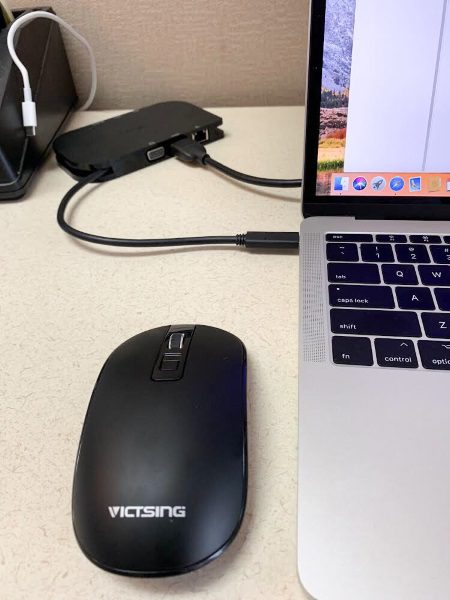
The next picture below shows the hub connected to my MacBook and the connection to the external monitor via the HDMI cable. It also shows the wireless mouse that I use. The second picture below shows the same with the USB-C adapter connected.
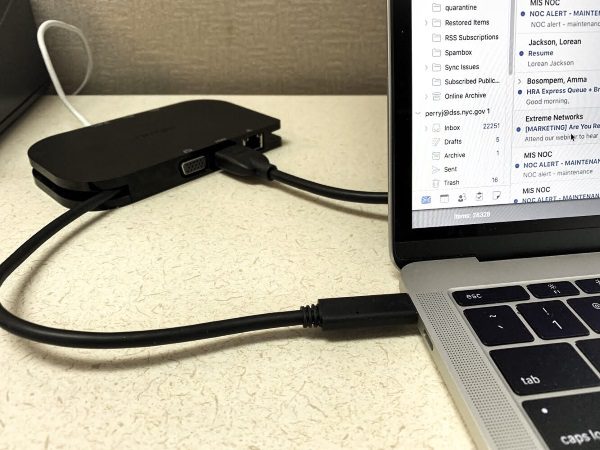

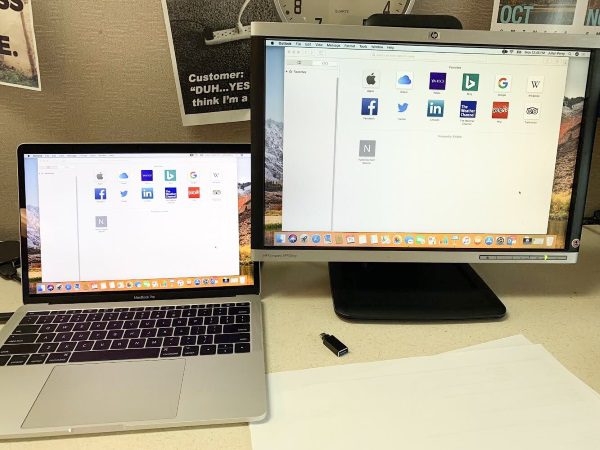
Next, you can see the MacBook Pro and an external monitor attached to the USB-C hub.
Performance

This Kensington USB-C hub performs exactly as it is supposed to without any hiccups. There is not a whole lot to say about performance once the ports operate as designed, which they do. There is no lag with the attached external monitor nor with the mouse. All USB drives that I connected performed well. Unlike other similar hubs that I have tested, this one gets just slightly warm after hours of use, and not in any way that I deem to be significant.

What I like

  • Compact size and lightweight
  • Ports and versatility
  • Pass-through charging port

What can be improved

  • A design that does not restrict the width of the USB device that can be connected
  • The lack of a card reader/s.

Final thoughts

This Kensington SD 1600P USB-C Mobile Dock performs very well and fulfills the exact function it is designed for. For the price, I wish that it had some additional functionality like a multi-port card reader. Otherwise, it is a very lightweight, compact and portable dock that provides good expansion for my MacBook Pro that only has one type of built-in port which is the 2 USB-C  ports.

Price: $89.99
Where to buy: Amazon
Source: The sample for this review was provided by Kensington.

Filed in categories: Reviews

Tagged:

Kensington SD 1600P USB-C Mobile Dock review originally appeared on The Gadgeteer on October 27, 2018 at 10:00 am.

Note: If you are subscribed to this feed through FeedBurner, please switch to our native feed URL http://the-gadgeteer.com/feed/ in order to ensure continuous delivery.

Wait, was I drinking with Albert Einstein or Madame Curie?

NEWS – Recently, we told you about glasses decorated with mathematical constants.  Today’s glasses identify which glass is yours with pictures of famous scientists.  These glasses have a 3.5″ diameter, stand 5.75″ tall, and hold 16 fluid ounces.  And as all good glasses should be, they are dishwasher-safe.

The Famous Scientist Tumblers are decorated with images of a scientist and images related to their most famous discoveries and achievements.  Pictured are: Sir Issac Newton, Albert Einstein, Charles Darwin, Marie Curie, and Leonardo da Vinci.  The glasses are sold individually for $15.00 each.  Purchase yours at UncommonGoods.

Filed in categories: News

Tagged:

Wait, was I drinking with Albert Einstein or Madame Curie? originally appeared on The Gadgeteer on October 27, 2018 at 9:00 am.

Note: If you are subscribed to this feed through FeedBurner, please switch to our native feed URL http://the-gadgeteer.com/feed/ in order to ensure continuous delivery.

There’s a new Bluetooth product from Chicago – for Shure!

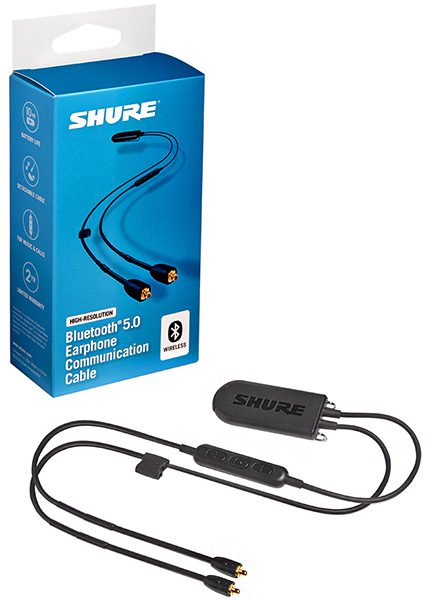
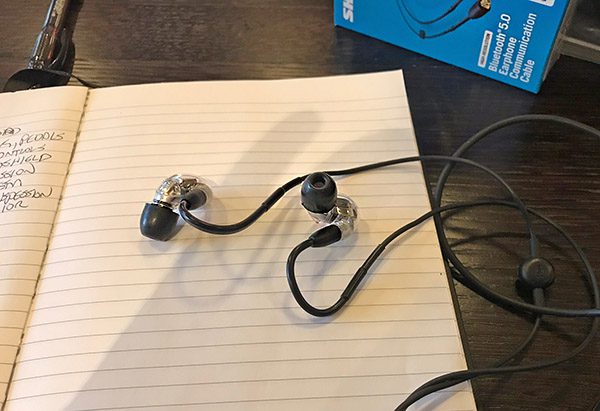
ARTICLE – It’s always fun to be invited to a press introduction of a new product, especially when it is as useful as this: The Shure High-Resolution Bluetooth 5 Earphone Communication Cable—or the Shure RMCE-BT2 cable. Shure wanted a way to allow owners of their detachable SE Sound Isolating Earphones to go wireless without having to shell out for all-new earphones. The RMCE-BT2 is that solution. Since the cables from all of Shure’s earphones are removable, the RMCE-BT2 simply snaps in place making the earphones wireless. 

“Portable listening technology continues to evolve and improve, both from a hardware and software standpoint,” said Sean Sullivan, Senior Manager of Global Product Management at Shure. “The circuitry in the new high-resolution Bluetooth communication cable features premium Bluetooth codec support for higher resolution wireless transfer and a high performance headphone amplifier to accurately and efficiently drive any of our Sound Isolating earphones. Our goal is to provide users with the best possible listening experience, and this product will help achieve that goal.” 

More on the RMCE-BT2 later.

But first, Shure treated invited audio writers to a tour of their facility in Niles—about 20 minutes outside of Chicago. Here we learned about the history of Shure—especially their microphones. I know very little about mics, but I still enjoyed how much pride Shure has in its products, notably the iconic Shure Unidyne microphone—something anyone will recognize (shown below).

Later, we got to experience an anechoic chamber where mics are tested. This is a room that is totally sound-proof with triangular-shaped sound-deadening material covering all surfaces—floor included. Actually, there was no floor; we stood on what looked like chicken wire. Once the doors closed, there was total and unnerving silence. Even when our host spoke, his voice sounded flat and well—dead. 

Now, back to the reason for the trip.

Face it, anyone can build a wireless Bluetooth contraption for any earphones from off-the-shelf parts. Shure doesn’t do that. They design, develop and build everything they sell. They developed their own digital audio converter (DAC) to be used featuring the most popular Bluetooth 5 codecs: Qualcomm aptX audio, aptX HD, aptX Low Latency, AAC, and SBC. Don’t worry if you don’t understand any of this. Just know that the RMCE-BT2 cable will work with your device and deliver the best sound possible.

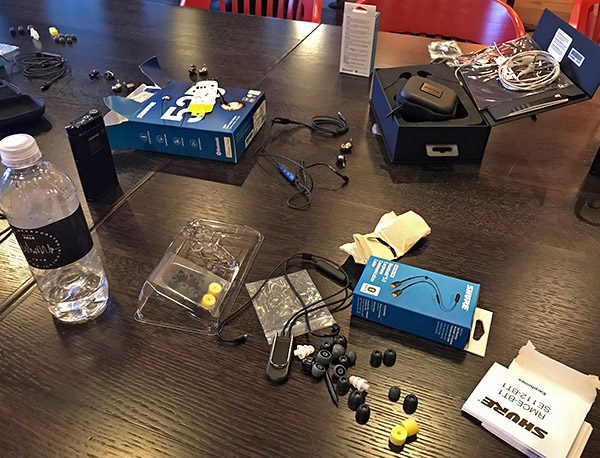
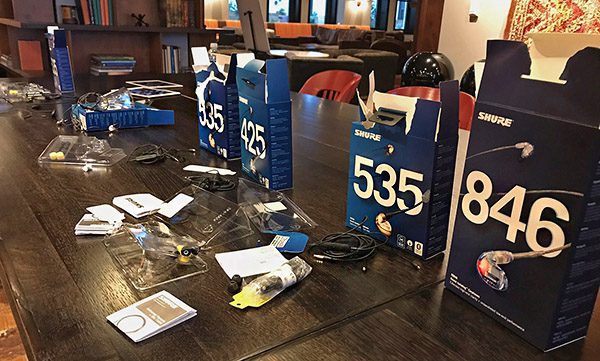
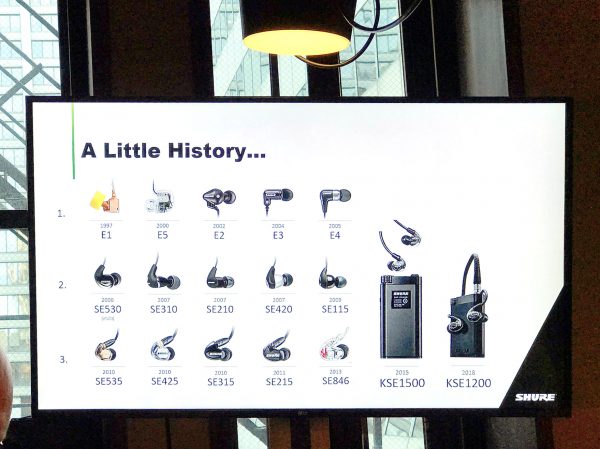
Back in Chicago at Shure’s downtown offices, we tried out the RMCE-BT2 with the full range of Shure’s earphones, from the affordable SE 215 to (my favorite) the SE 846 earphones. Shure also had some quite nice (and quite expensive) electrostatic earphones, but the audio improvement over the SE 846 wasn’t better enough to justify their higher price. It was the law of diminishing returns regarding audio—the higher the price, the smaller the improvements.

What I discovered was that the RMCE-BT2’s audio quality sounded as good as being hard-wired. At least, I couldn’t discern any noticeable difference. I listened to both Apple Music as well as high-resolution FLAC music files played through the wonderful Onkyo music app on my iPhone—both wired and wireless. The RMCE-BT2 will spoil you. It gave me a freedom that being wired just doesn’t allow. Because the DAC is better quality than what is natively on my iPhone, music was just as much fun to listen to. This was especially noticeable with Amber Rubarth’s binaural recording of “A Kiss to Build a Dream On”—a music test track I use often. The soundstage on this song is incredible—partly because it was a binaural recording—but also because the RMCE-BT2 allowed much of what is good about the song to be heard as intended. I handed the earphones to another attendee who was unfamiliar with the song and when she listened, a wide grin came across her face. That said it all.

Shure uses standard MMCX connectors with the RMCE-BT2. Shure told me they can’t guarantee a good fit with other earphones that use the MMCX connector because they tweaked the connector design for a tighter, more secure fit. However, when I returned home, I tried the RMCE-BT’s connectors with a pair of RHA CL1 ceramic earphones. The fit was perfect. 

The RMCE-BT2 features an in-line remote and mic control. Wireless range is up to 30 feet and battery capacity features up to 10 hours of play time with 350 hours of standby time.

I will give a full review of the RMCE-BT2 High-Resolution Bluetooth 5 Earphone Communication Cable soon. The RMCE-BT2 is available now and sells for $149 US. Visit Shure for more information.

Filed in categories: Articles

Tagged: ,

There’s a new Bluetooth product from Chicago – for Shure! originally appeared on The Gadgeteer on October 27, 2018 at 8:00 am.

Note: If you are subscribed to this feed through FeedBurner, please switch to our native feed URL http://the-gadgeteer.com/feed/ in order to ensure continuous delivery.
KiiPix Smartphone Picture Printer review

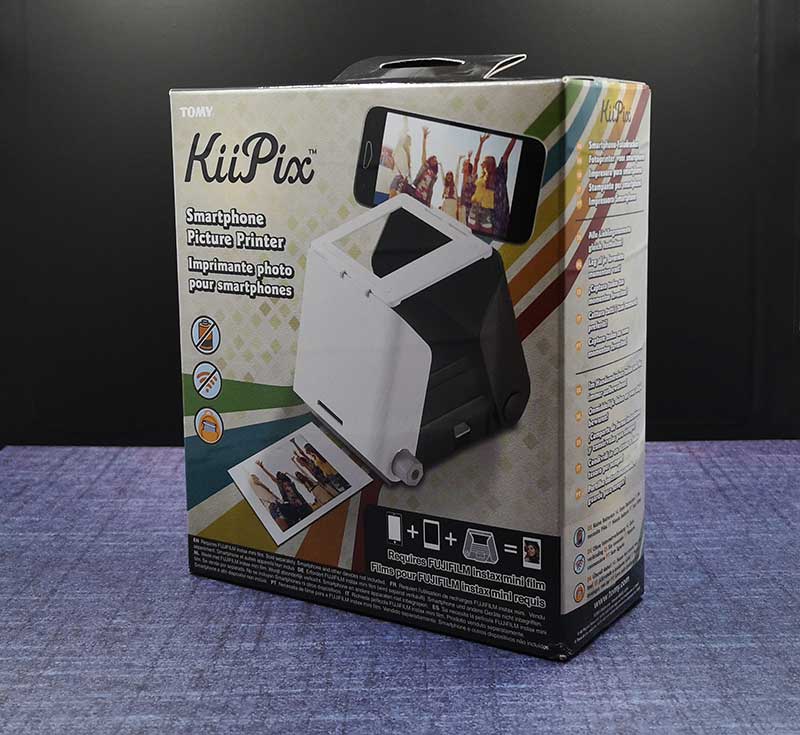
REVIEW – I take a LOT of pictures with my smartphone and I like to print some of them to put in my journal to help me remember things that have happened. Small photo printers are cool, but they require an app and have batteries that have to be charged. Is there an easier way to print your favorite pics? Tomy things so with their KiiPix Smartphone Picture Printer. Let’s check it out.

What is it?

The Tomy KiiPix Smartphone Picture Printer is actually a modern take on the iconic Polaroid cameras of the 70’s and 80’s.

What’s in the box?

KiiPix Smartphone Picture Printer
Instructions
*Fujifilm Instax mini film cartridge is NOT included

Design and features

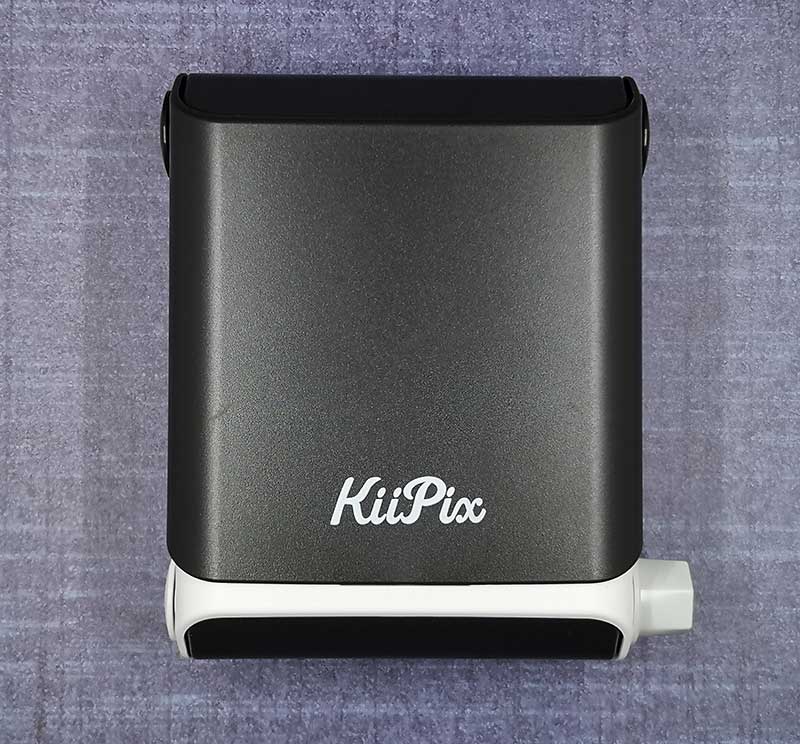
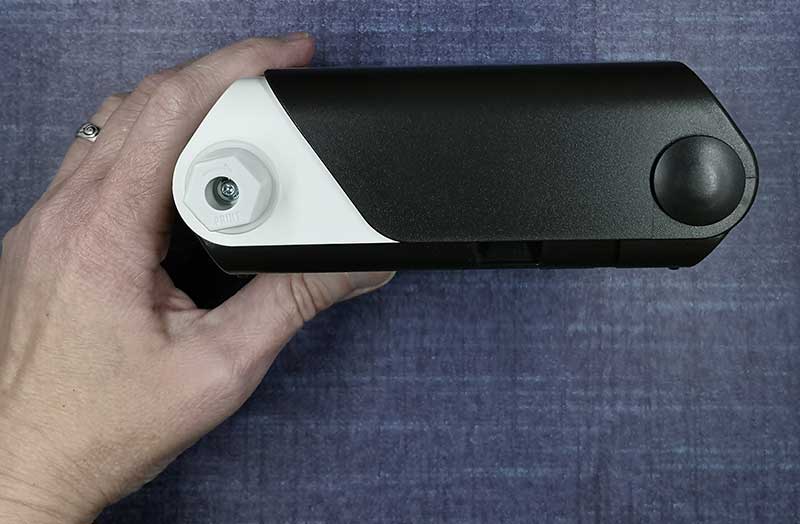
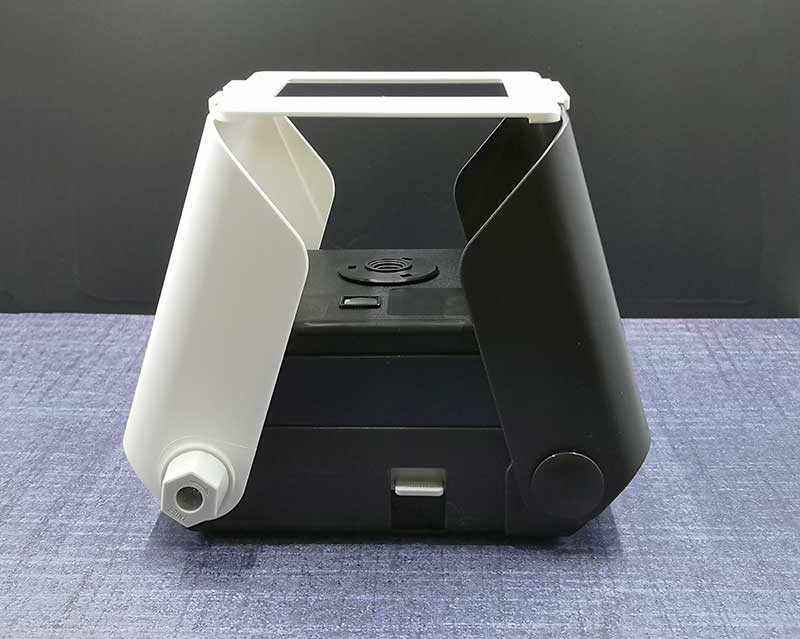
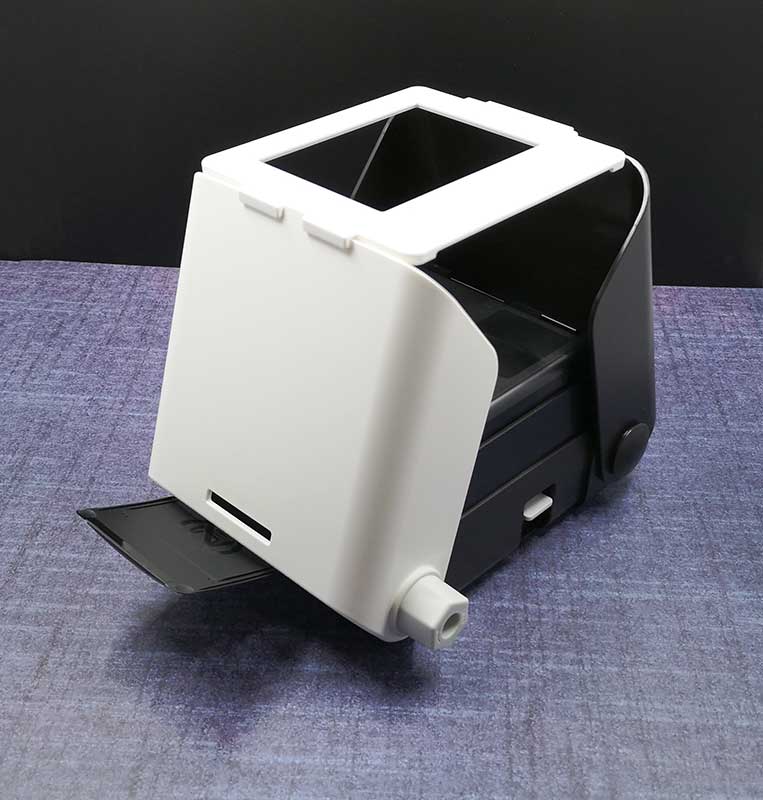
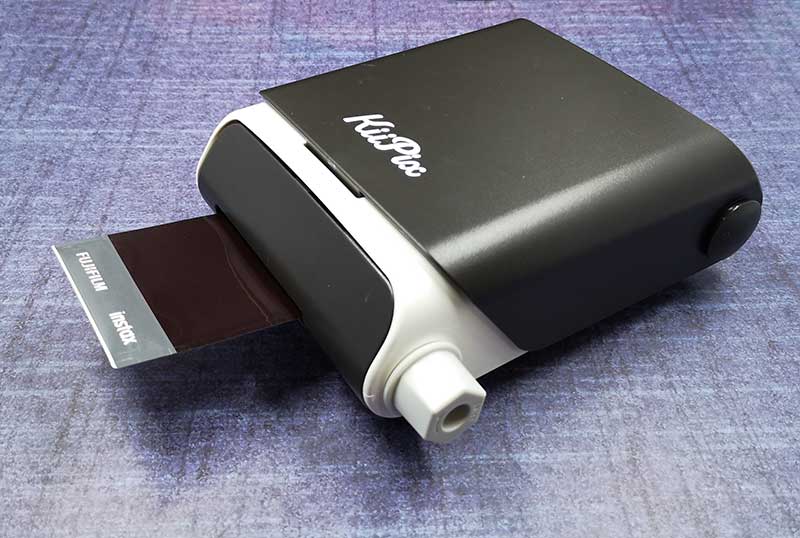
The KiiPix device is made of white and black plastic and features a film ejection dial on one side that is used to advance and eject each print.

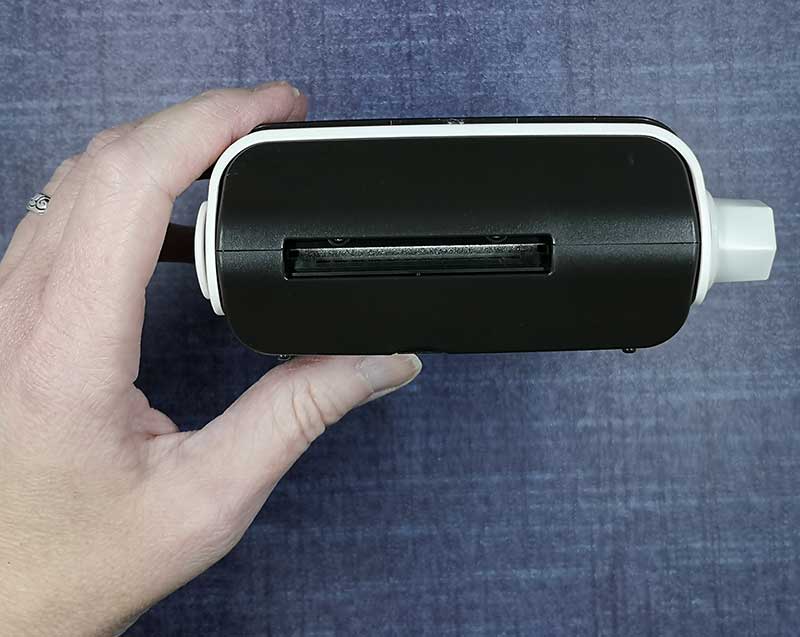
The prints eject from the side of the unit.

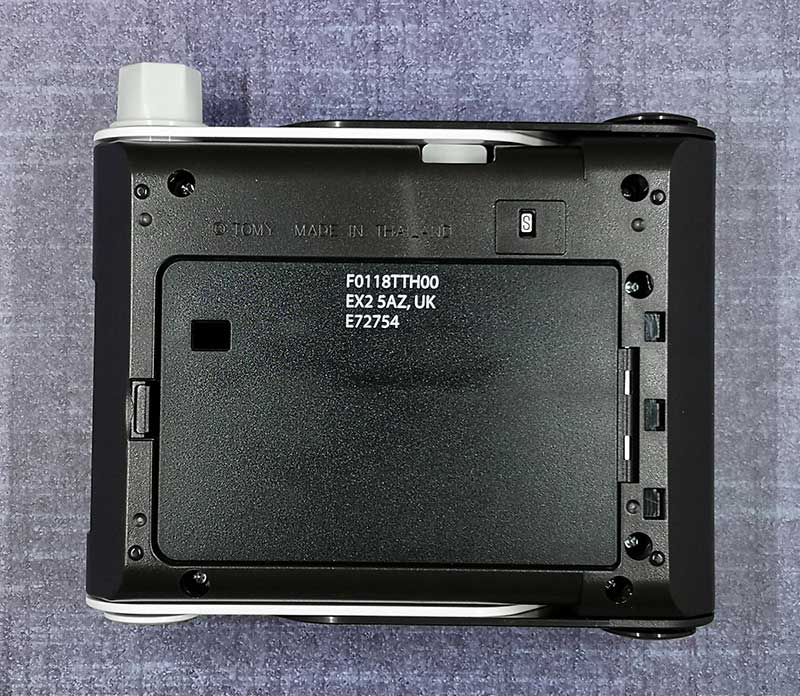
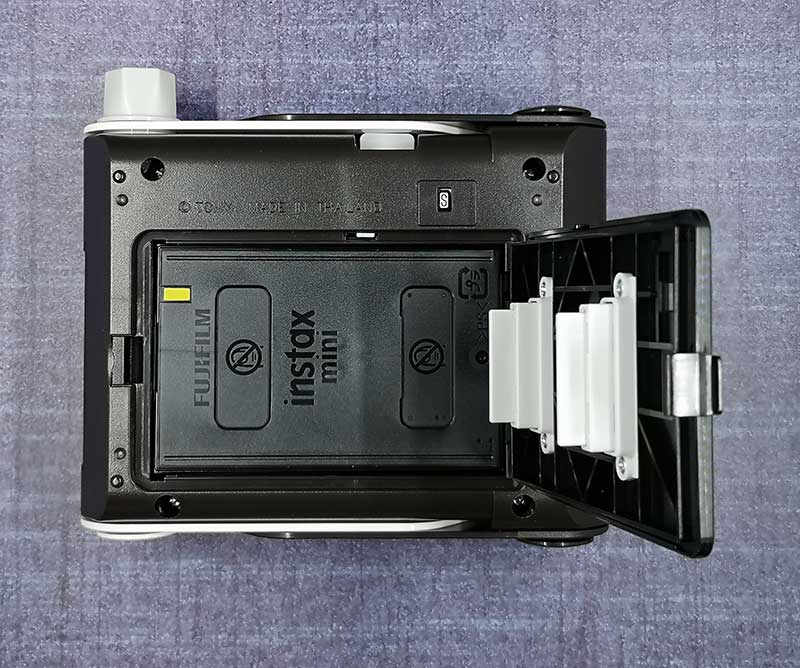
On the bottom of the KiiPix, you’ll find the printer paper compartment and the print count indicator.

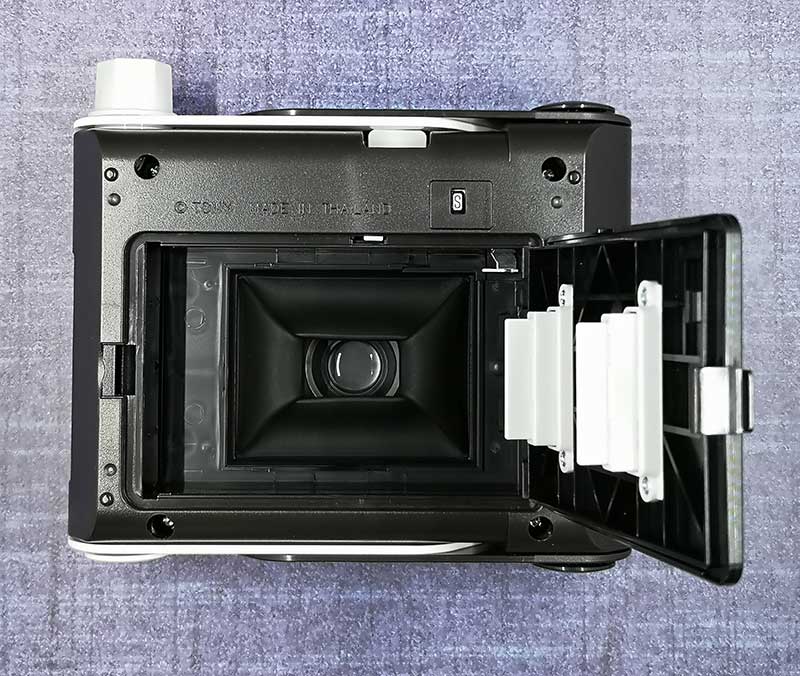
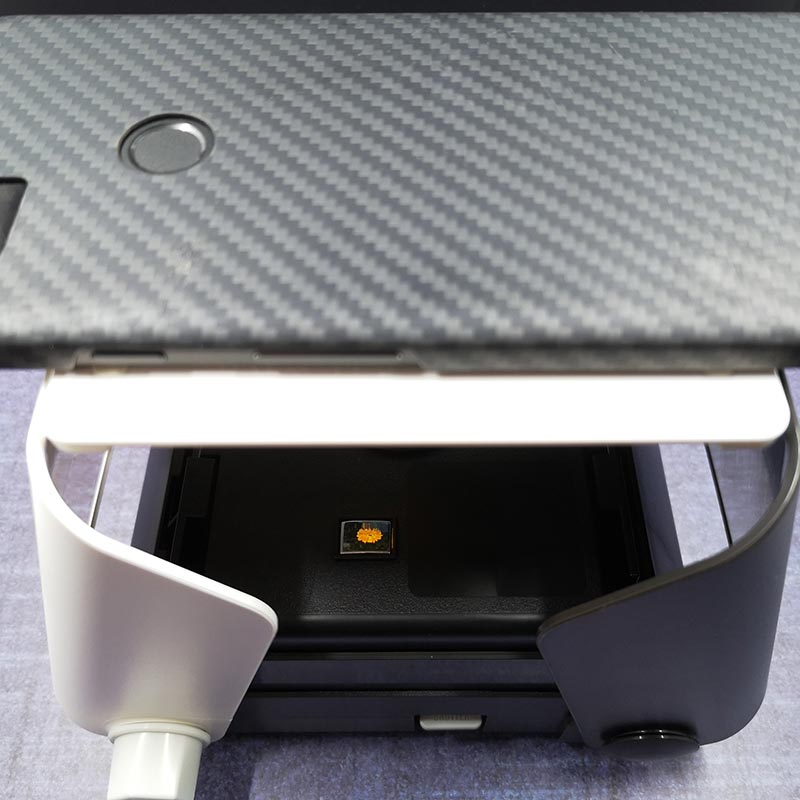
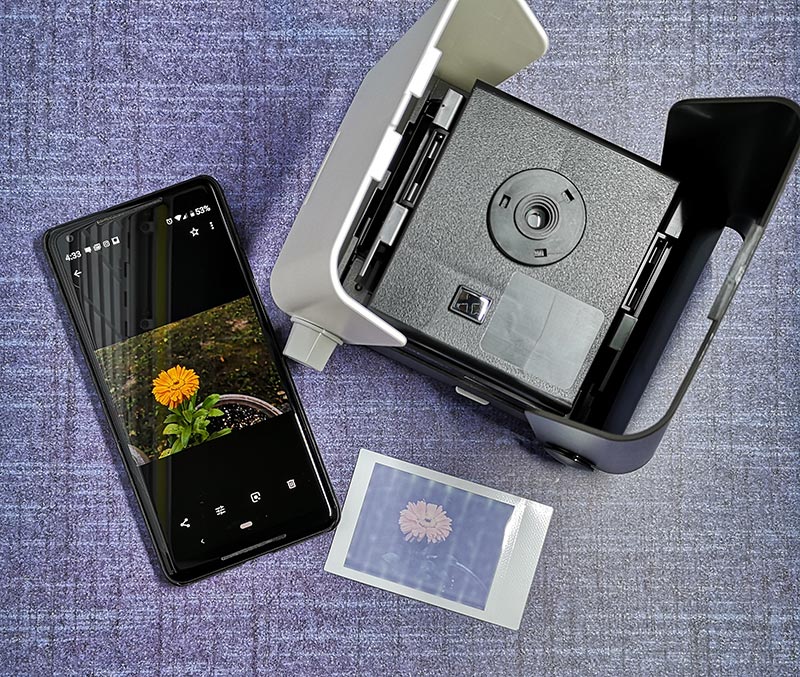
The paper compartment opens to reveal the camera lens. That’s right, this isn’t really a photo printer, it’s actually an instant camera.

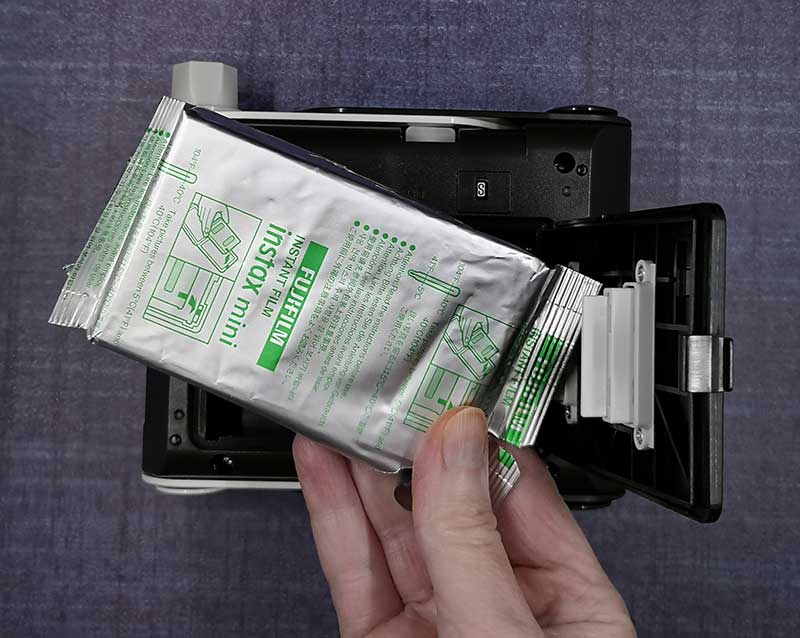
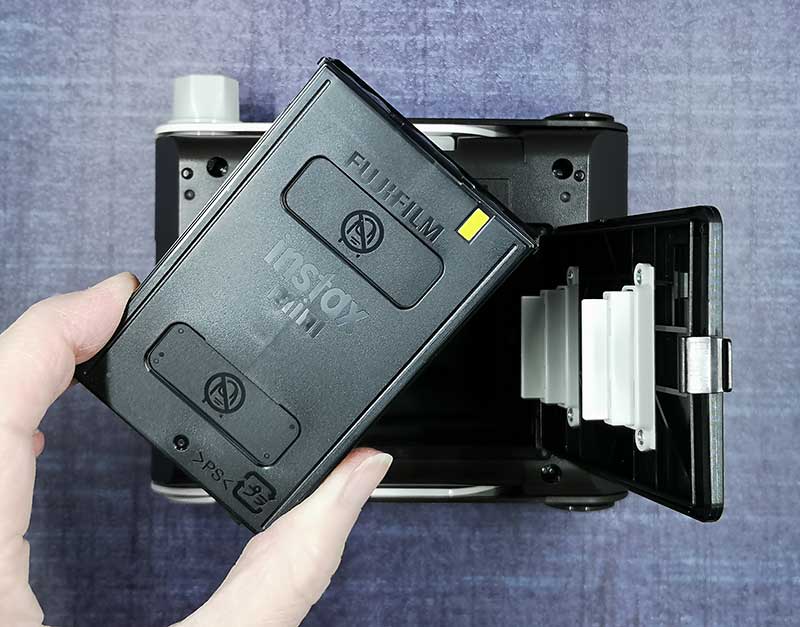
To use it, you’ll have to load a cartridge of Fujifilm Instax mini film into the bottom of the KiiPix.

Each Fujifilm cartridge has 10 films inside.

The film cartridge easily snaps in place and the door secures shut with a click.

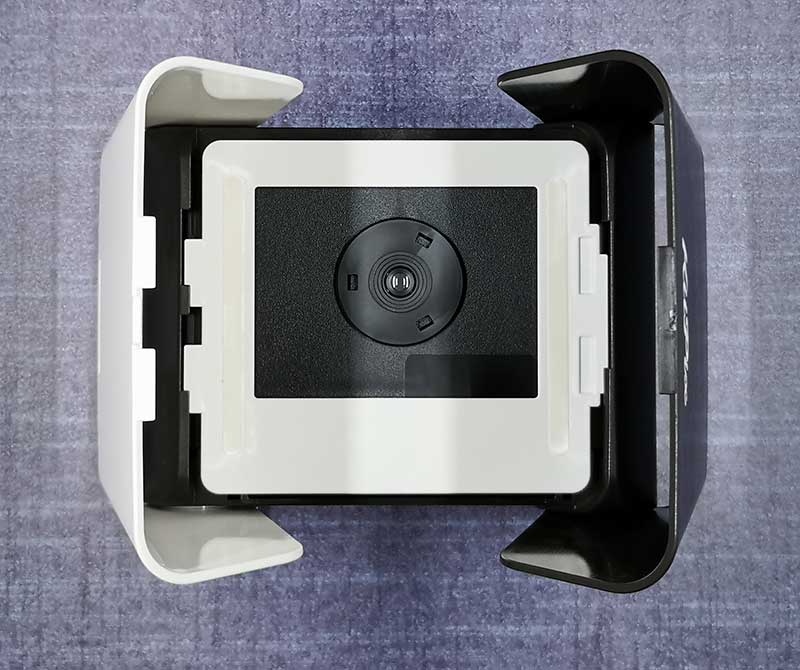
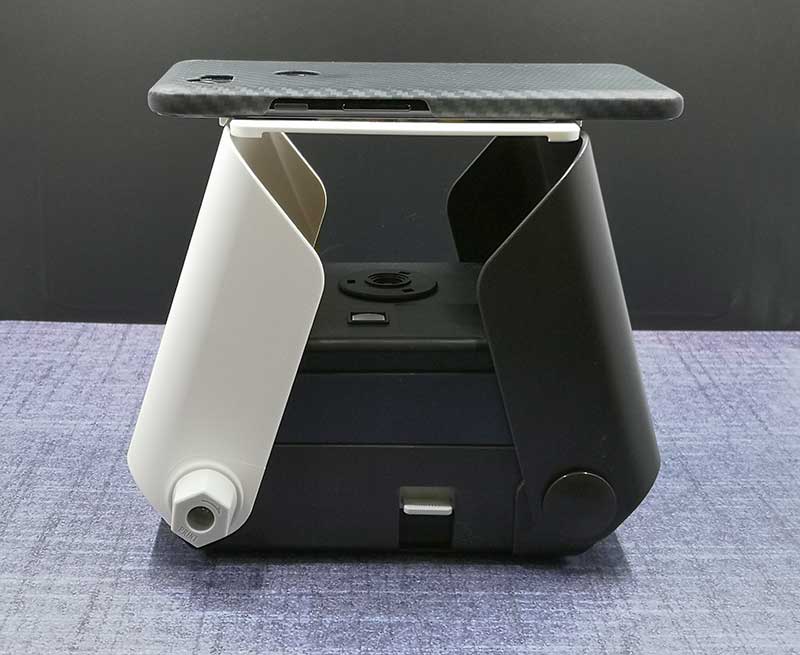
The next step is to unfold/open the KiiPix by lifting the two “wings”. You will then see a white plastic frame.

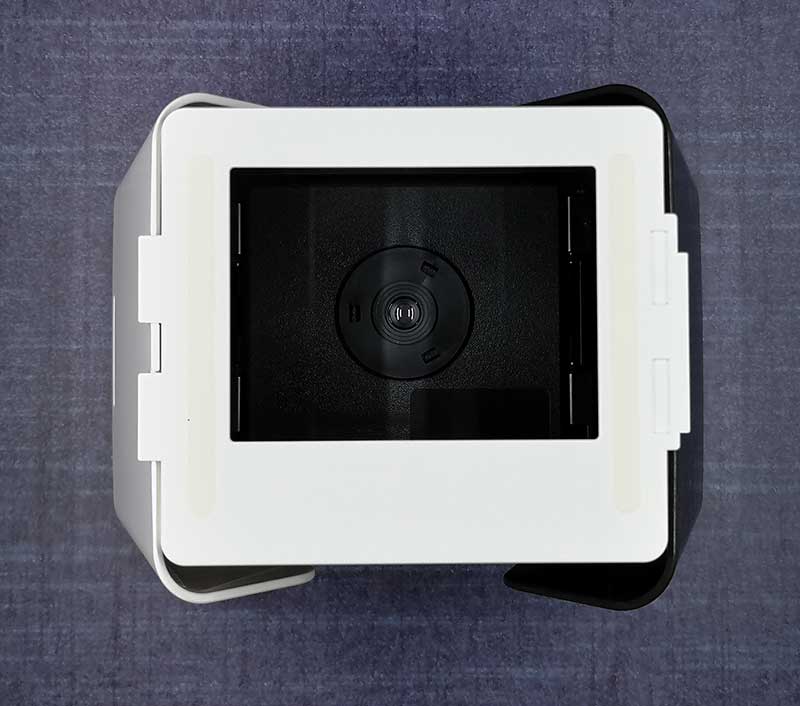
The frame lifts out of the camera and is placed over the two wings to create a platform.

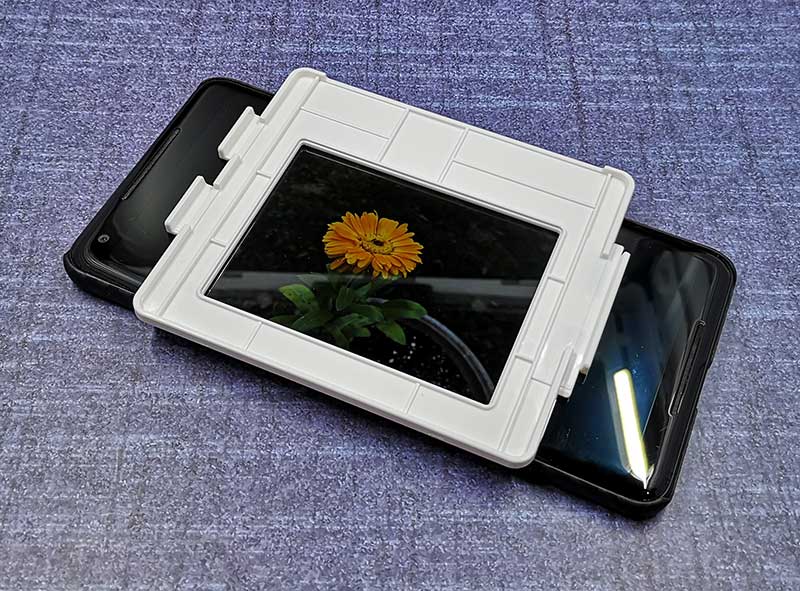
The frame is designed so that your iPhone or Android phone’s display rests over the opening so that the camera below it can take a photo of the phone’s screen.

To line up the photo, you need to have it displayed on the phone and then stick the frame (it has sticky strips on the edges to the display.

There’s also a tiny mirror that you can use to line up the image.

I tested the KiiPix with my Pixel 2 XL. Note that you don’t have to pair the KiiPix with your phone or load a special app. All you have to do is display the image on the phone’s screen that you want to print. The KiiPix will then take a picture of the image on the phone’s display when you press the shutter button on the side of KiiPix.

The first time you use the KiiPix, you have to rotate the film ejection dial until the first sheet is ejected.

Then you can take an actual picture and it will eject from the KiiPix when you turn the dial.


The 3.4 inch x 2.1 inch print comes out black, but the image will become visible within a few seconds.

Within about 90 seconds – 2 minutes, the 2.4 inch x 1.8 inch image will be fully visible. Check out the video below that shows the film developing over time.

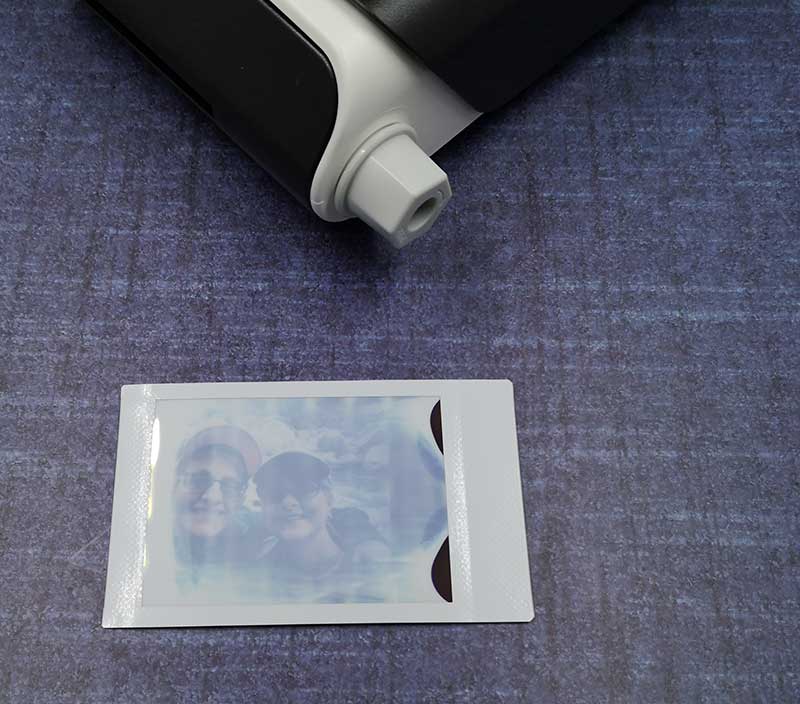
The resulting photo quality was a mixed bag. My first image can be seen above and in the video had strange black arcs on the side and the whole print got much darker as time went by. Here are some more prints that I made.

My first two images were really dark, and then I read that you’re supposed to turn the phone’s brightness to the max. But even then, I still felt like the images were darker than I would like. I also ran into issues where I accidentally pressed the shutter button twice. Can you see which image that was? Yes, it’s the one with double flowers. That’s actually a cool “feature” that can allow you to make some creative photos by having double exposures. Then there’s the issue of the screen rotating when you don’t want it too like the selfie at 9 o’clock where you can see black bars on the side. That image is supposed to be oriented the other way…

What I like

  • No cables, no Bluetooth, no batteries
  • Doesn’t require an app

What needs to be improved

  • Doesn’t come with a Fujifilm Instax Mini print pack
  • Print quality isn’t very impressive

Final thoughts

The KiiPix has a few things going for it when compared to the more expensive small photo printers like my favorite HP Sprocket. First of all, the KiiPix costs about $90 less than the HP Sprocket. The KiiPix also doesn’t need to be charged, paired, or used with an app. But both printers require that you buy film/photo packs. I like the Zink prints from photo printers like the HP Sprocket better than the Fujifilm Instax Mini prints because the Zink prints have peel and stick backs which make it much easier to put the photos in a journal. The Fujifilm prints are also thicker and have a large white frame around them instead of the image being edge to edge like the Zink prints.

But when it comes right down to it. I prefer the smaller HP Sprocket style printer because I don’t have to line up the camera on top of the printer itself and the print results are much better and don’t depend on how bright the screen. In my opinion, the Tomy KiiPix Smartphone Picture Printer is more of a toy than a photo printer. Yes, it prints photos, but the results won’t impress.

Price: $39.99
Where to buy: Amazon
Source: The sample for this review was provided by Tomy.

Filed in categories: Reviews

Tagged: , ,

KiiPix Smartphone Picture Printer review originally appeared on The Gadgeteer on October 26, 2018 at 10:00 am.

Note: If you are subscribed to this feed through FeedBurner, please switch to our native feed URL http://the-gadgeteer.com/feed/ in order to ensure continuous delivery.

Instant Pot offers two products for sous vide cooking

NEWS – Back in the summer, we told you about a Wolf multi-function cooker that had sous vide cooking as one of its functions.  One reader asked why her Instant Pot couldn’t do sous vide.  It’s because Instant Pots are pressure cookers and are designed to cook under steam at high temperatures and pressures instead of holding water at a constant temperature below the boiling point for the long times needed for sous vide cooking.  Well, Instant Pot pressure cookers still can’t sous vide cook, but the company now offers two Instant Pot-branded devices that can.

First up is the Instant Pot 8-qt Aura Pro Multi-Use Programmable Multicooker with Sous Vide (seen above).  This isn’t a traditional Instant Pot.  Instead, like the Wolf Multi-function cooker, it is more a slow cooker than a pressure cooker.  In addition to sous vide cooking, this multicooker can sear/sauté, bake, slow cook, steam, stew, roast, make yogurt, cook rice or multigrains, and keep warm.  It has a microprocessor to control the time and temperature to ensure consistent cooking results.  The Instant Pot 8-qt Aura Pro Multi-Use Programmable Multicooker with Sous Vide is $149.95 at Amazon.

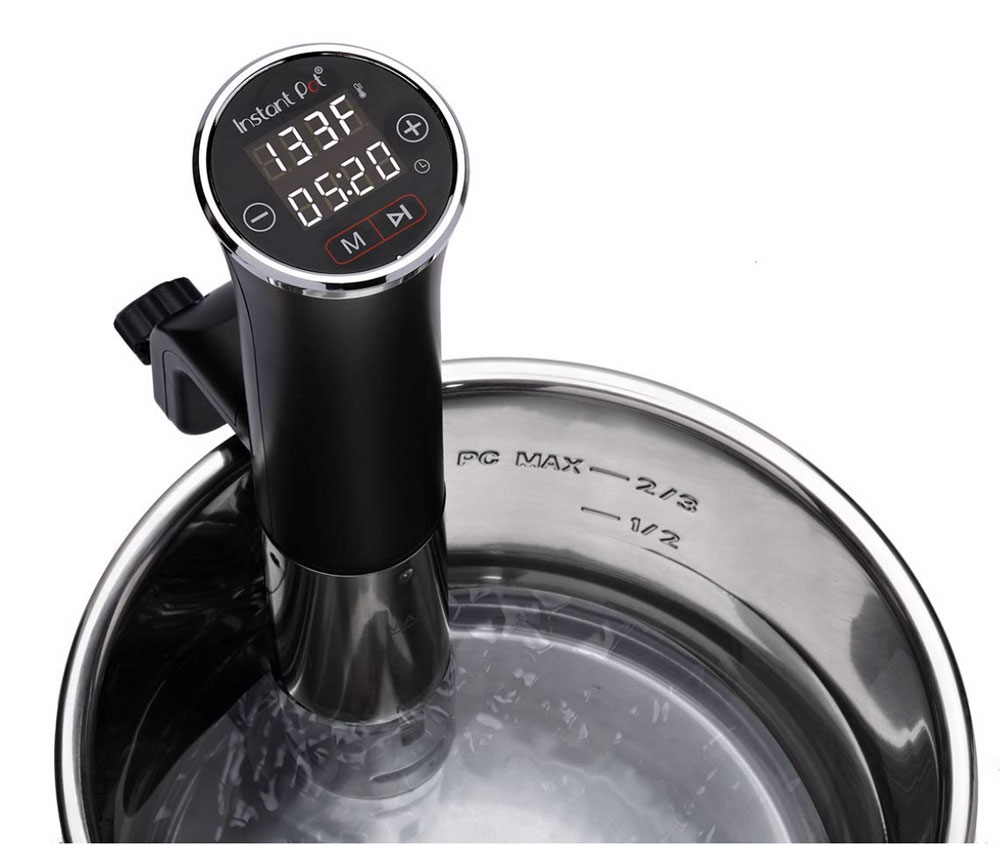
Next is the Instant Pot SSV800 Accu Slim Sous Vide Immersion Circulator, which looks and functions like another immersion sous vide cooker (Aicok SV-8001 Sous Vide Cookerreviewed by The Gadgeteer recently.  While you can use the inner pot from the 6- or 8-quart Instant Pot, it doesn’t require an Instant Pot at all.  You can use it with any pot or vessel that allows the circulator to be clamped to its side.  In fact, most sous vide circulators I’ve seen seem to require vessels that hold at least 12 quarts, so the Instant Pot inner pots seem a bit small.  The Instant Pot SSV800 Accu Slim Sous Vide Immersion Circulator  is $79.95 at Amazon.

Filed in categories: News

Tagged: ,

Instant Pot offers two products for sous vide cooking originally appeared on The Gadgeteer on October 26, 2018 at 9:00 am.

Note: If you are subscribed to this feed through FeedBurner, please switch to our native feed URL http://the-gadgeteer.com/feed/ in order to ensure continuous delivery.