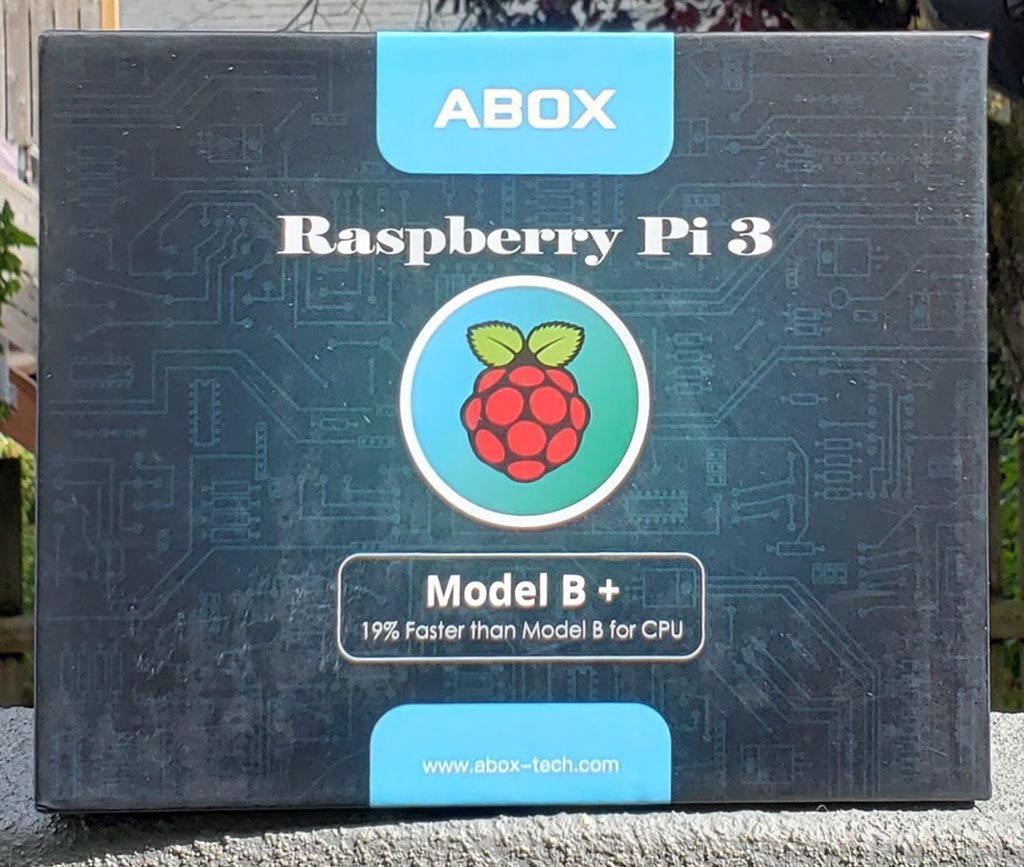
REVIEW – I love to tinker. I love gadgets. And I love when those two worlds collide, resulting in something I made and is useful. The Raspberry Pi is one of those computing devices that – if you can define a use for it – is practical, easy to use, and brings satisfaction to even the most curmudgeonly tinkerer (aka me). ABOX produces a few different Raspberry Pi kits and today we are going to look at the Starter version. Does it have what you need to get started? Read on to find out…
What is it?
The ABOX Raspberry Pi 3B+ Starter kit is a bundle of everything you will need to get started with the world of Raspberry Pi – except a keyboard, mouse, and monitor.
What’s in the box?
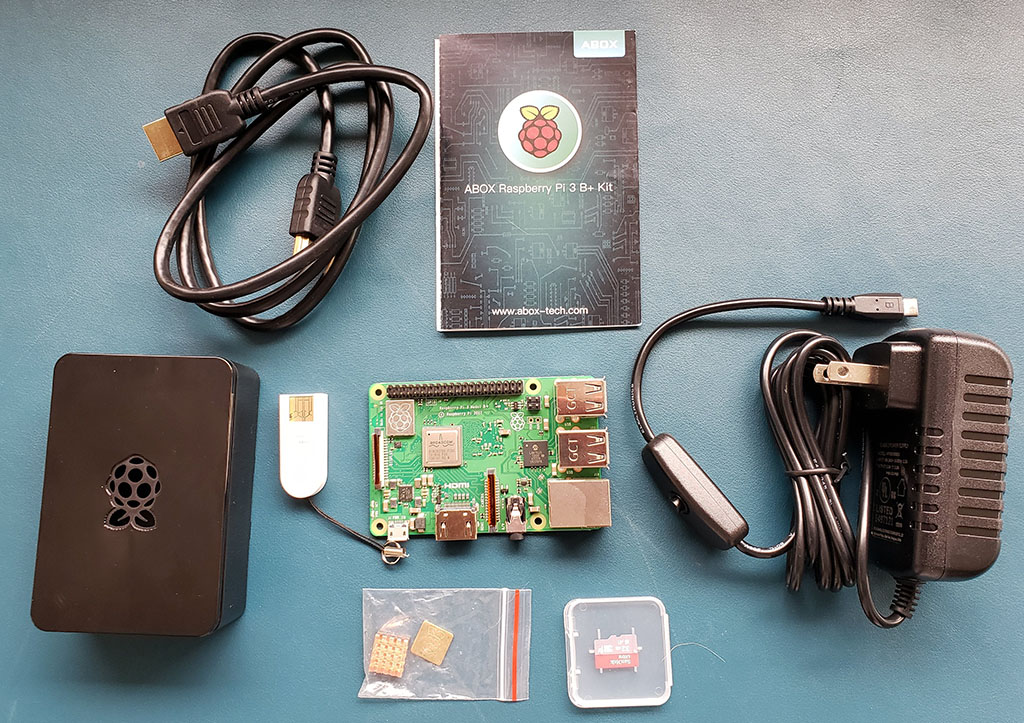
- A Raspberry Pi 3B+ motherboard with 4 USB 2.0 ports, a gigabit Ethernet port, an HDMI port, audio out, power and micro-SD card reader. This is the latest model of Raspberry Pi, with a processor that is 19% faster than the previous version, dual band 802.11ac wireless networking and Bluetooth 4.2.
- A 32 gig micro-SD card pre-loaded with NOOBS, a great utility that will help first-time RPi’ers to load an operating system like the Linux distro Raspbian.
- A USB 2.0 micro-SD card reader for your other computer that will allow you to load a different operating system like Retro-Pi for gaming.
- Heatsinks for the motherboard – most Raspberry Pi cases do not have fans, so this helps dissipate heat.
- A 5v power supply to provide electrons to your Raspberry Pi.
- An HDMI cable to connect to a monitor.
- A “Getting Started” booklet that will walk you through installing the Raspbian operating system.
- A standard case to house the whole affair (minus the “Getting Started” booklet).
Setup
Setup doesn’t get much simpler. Peel the tape off the back of the heat sinks and attach them to the two chips (in the picture, the upper left chip and the one immediately to the right and lower – it is pretty easy to figure out which goes where). Open the case and put the board in place. Close the case, and you are ready to get started.
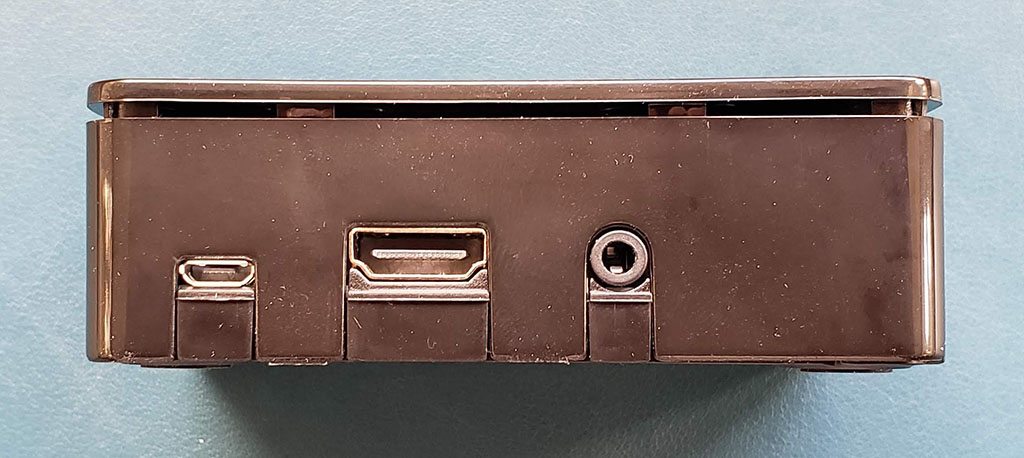
This is the power, HDMI and audio out ports in the case.
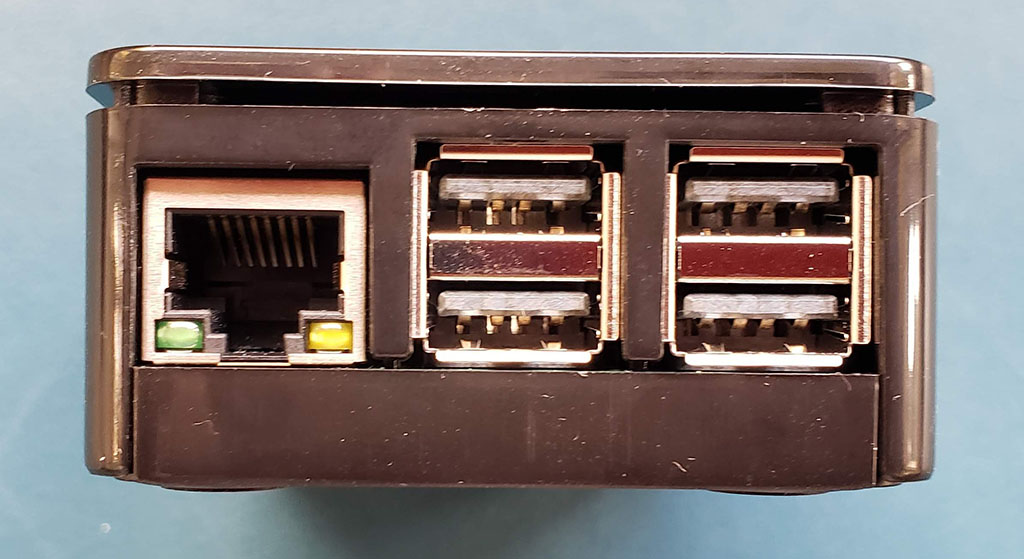
The Ethernet and USB 2.0 ports on one side…
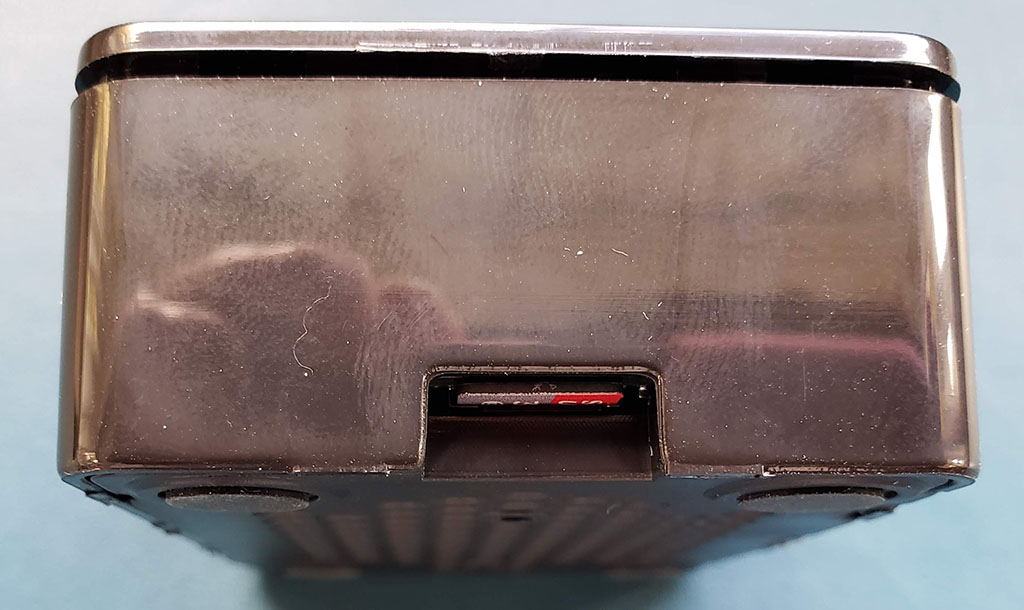
…and the micro-SD slot with the card installed on the other side. Plug in your keyboard and mouse, connect a monitor and then plug in the power cable.
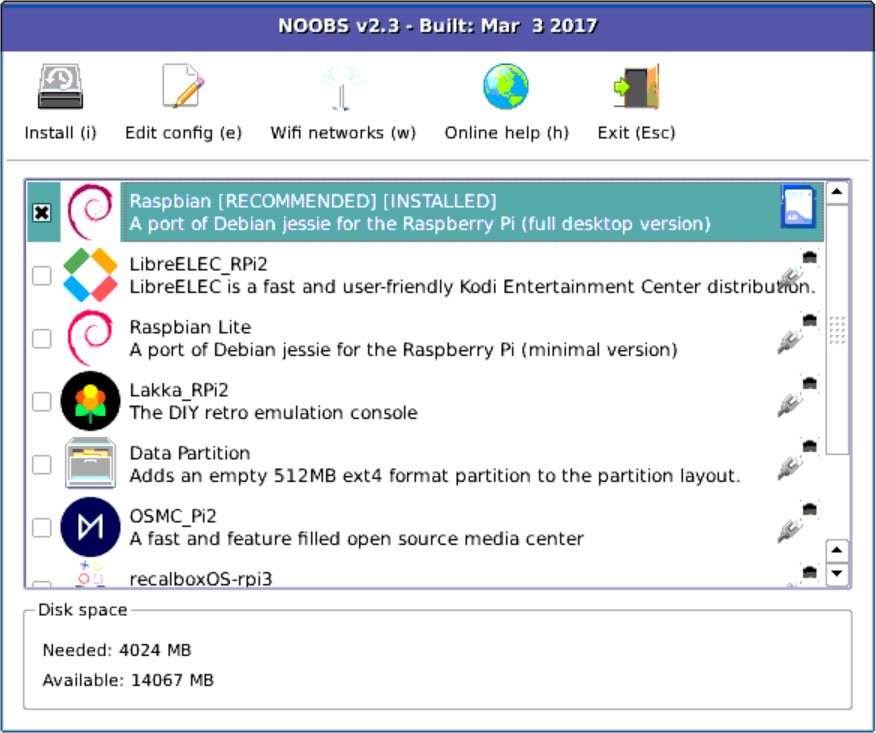
Load your operating system and you are ready to explore the world of Raspberry Pi. It is that simple.
Is it worth it?
Depends.
These kits are a great, hands-on way to teach kids about STEM. They are also great for home automation projects like creating your own Amazon Alexa device. Into retro-gaming? Again, another great use. And this is the point – if you can find a use for this, a kit like the ABOX is the right way to get started. If you are uncertain about what a Raspberry Pi is or what it can do, you might want to read more before spending the money. So it really comes down to whether this particular kit is the right one.
And the short answer is yes, it is. The motherboard and case are standard issue, so no difference between these and the components you will find in other kits. The differentiation comes in the other components included in the Starter set. The power cord is a solid, UL-listed version with a convenient on-off switch installed. The HDMI cable is molded and shielded. A name-brand micro-SD card that is fast enough to support the Pi. And the instruction booklet will get you started – as far as getting an operating system loaded and functioning. After that, you are free to explore as you like. ABOX has packaged great components that will help launch you into the Raspberry Pi world.
What I like
- (Almost) everything you will need to get started (bring your own mouse, keyboard and monitor)
- Good quality components that make it easier for the beginner to get started
- An instruction book that gets you to the launch of the operating system
What should be improved
- A fairly minor point, but a couple of pictures on how to assemble the case and motherboard would probably help the extreme beginner or kids getting started on their own
Final thoughts
Getting everything you need in one box is the difference between success and frustration when you are beginning. There are plenty of tutorials on the Internet that will help you take an assembled unit and make it into something, but few will tell you what you actually need to get started. ABOX is bridging that gap with kits like this. From unboxing to install, the process took me a little over an hour – and a fair portion of that was spent finding a wired mouse that I could start with (once up and running I switched to a Bluetooth mouse – it’s just that brief getting started time where that – or a Logitech unifying device – is needed).
So what am I going to do with this? I think I am going to make a retro gaming setup. A couple of USB game controllers and installation of the Retro-Pie operating system, digging up some games on the Internet, and soon the sweet sounds of Donkey Kong will once again reverberate through my living room. Or maybe I will buy a LCD screen component and some sensors to use as a weather station. Or add the camera module and build a facial recognition device that will show either my wife or I a custom-built news and information feed.
Or maybe I will do all 3…where is my credit card again?
Price: $78.99 with the 32 gig memory card, $68.99 with the 16 gig version
Where to buy: Amazon
Source: The sample for this review was provided by ABOX.
Filed in categories: Reviews
Tagged: Computer Gear
ABOX Raspberry Pi 3B+ Starter kit review originally appeared on The Gadgeteer on October 5, 2018 at 12:00 pm.
Note: If you are subscribed to this feed through FeedBurner, please switch to our native feed URL http://the-gadgeteer.com/feed/ in order to ensure continuous delivery.


