REVIEW – When editing photos or videos, a reasonably sized display with great color reproduction is really essential. I have always been a fan of the quality of BenQ monitors, but I have not purchased a new one for quite some time. When I was offered the opportunity to review one of their newer curved monitors, I jumped at the chance to see if they could keep me as a fan. Here is how it went:
What is it
The BenQ EX350IR is a 21:9 35″ Vertical Alignment MonitoCurved Monitor, boasting a 3440 x 1440 resolution.
What’s in the box
Unpacking
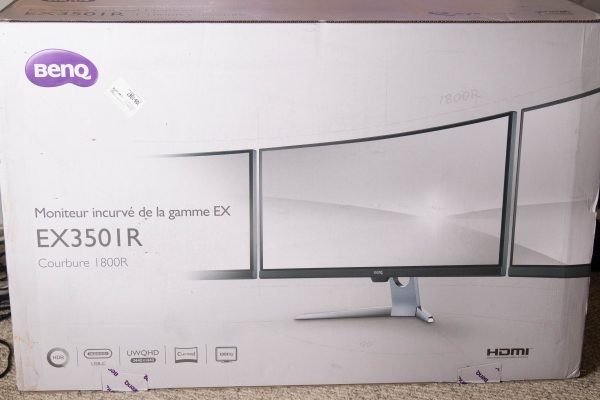
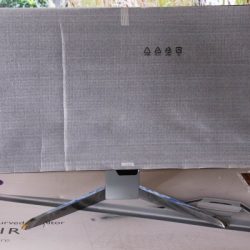
As you can see from the pictures below, the monitor and the accessories arrived well-packed and in a very large box that was cushioned in every way with styrofoam. The screen also had additional protection.



Contents
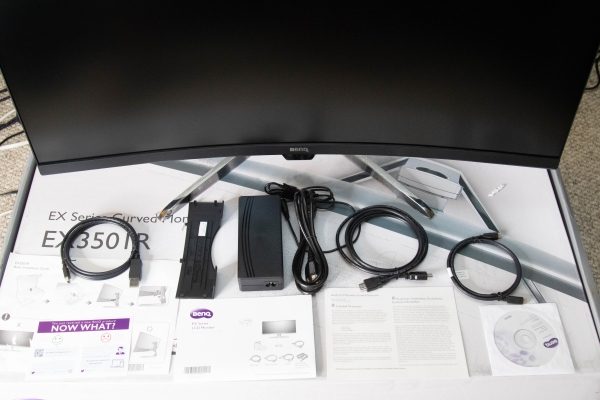
1 x BenQ EX350IR Curved Monitor
1 x System CD-Rom
1 x Power Cord
1 x Power Adapter
1 x DisplayPort to Mini DisplayPort Cable
1 x HDMI Cable
1 x USB Type-C Cable
1 x Back Cover
1 x Quick Start Guide
Specifications
Size: 35″
Screen Area: 32.26 x 13.62″ / 81.94 x 34.59 cm
Panel Type: VA LCD
Native Resolution: 3440 x 1440
Aspect Ratio: 21:9
Pixels Per Inch (ppi): 103 ppi
Brightness: 300 cd/m2
Contrast Ratio: 2500:1
Dynamic Contrast Ratio: 20,000,000:1
Refresh Rate: 100 Hz
Adaptive Sync Technology: FreeSync
Bit Depth / Color Support: 8-Bit (16.7 Million Colors)
Color Gamut: 100% sRGB
Response Time: 4 ms (GtG)
Viewing Angle: Horizontal: 178°
Vertical: 178°
Connectivity:
2 x HDMI 2.0
1 x DisplayPort 1.4
2 x USB (USB 3.0) Output
1 x USB (USB 3.0) Input
1 x USB Type-C
1 x 3.5 mm Output
HDCP Support: Version 2.2
Dimensions (W x H x D): 32.8 x 19.8 x 8.8″ / 83.4 x 50.4 x 22.4 cm
Weight: 22.93 lb
Design and features
The BenQ EX350IR Curved Monitor is a beautiful curved monitor that has a 178-degree viewing angle from each side. It is a 21:9 format that has a HD resolution up to 3440 x 1440.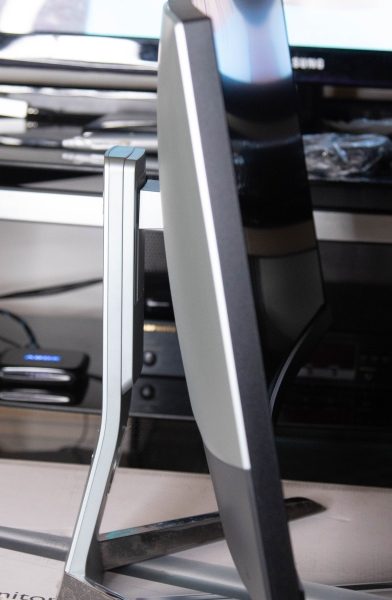
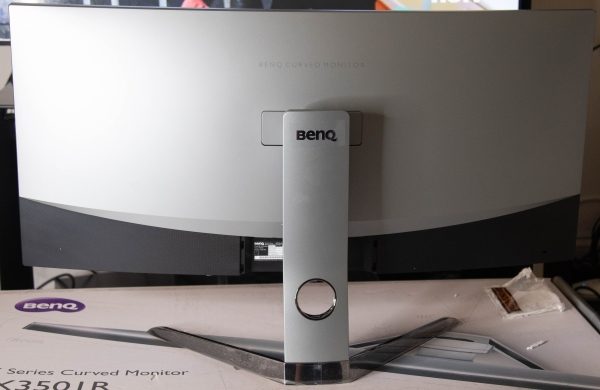
The picture below shows the back of the monitor with the hole in the stand to pass the connected cables through. I already have holes on my desk to triage the cables, so I did not use this feature. You can also see where the stand with its triangular style platform connects to the back of the monitor. Ths stand can be removed, and an optional VESA wall mount transfer kit can be purchased separately and attached so that the monitor can be VESA mounted.
This angle below shows the tracks on the stand between the stand and the monitor that allow the height of the monitor to be raised or lowered simply by pulling it up or pushing it down. The tracks provide the necessary tension to keep it firmly in place. The visible spring that you see controls the tension when tilting the display.

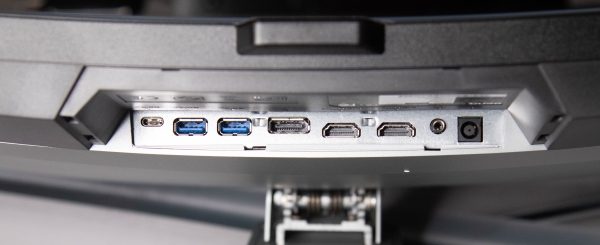
This monitor has a nice selection of ports. (From left to right as pictured below):
1 x USB Type-C Port
2 x USB 3.0 Ports
1 x DisplayPort
2 x HDMI Ports
1 x Headphone Jack
1 x DC Power Input Jack
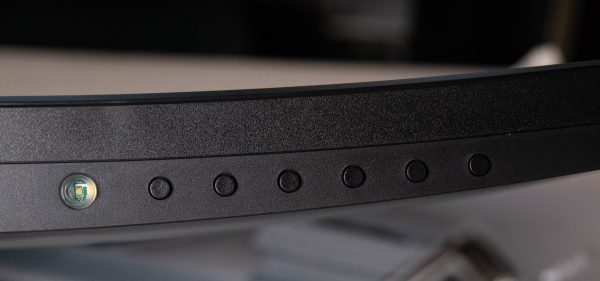
If you are facing the front of the monitor, the control buttons are underneath the bottom right side of the display (From left to right):
Button 1 – Power Button: Power On /Off
The next 6 buttons are “Control Keys or hotkeys” (Pressing any control key brings up a menu function)
Button 2 – Input Hot Key: Input Selection
“The Custom Keys perform as hotkeys to provide direct access to pre-defined functions. You can change the default setting and designate different functions for these keys”.
Button 3 – Custom Key 1: Picture Mode
Button 4 – Custom Key 2: Contrast
Button 5 – Custom Key 3: Brightness
Button 6 – Menu: Activates the Main Menu
Button 7 – Exit: Exit On Screen Display Menu
(For the record, I did not change any of the functions of the Custom Keys, since they worked well for me at the factory default settings)
Performance
I connected the monitor to my main workstation where many nights I work into the early morning hours editing videos and photos. (Note: Some aspects of the following pictures are purposely blurred).

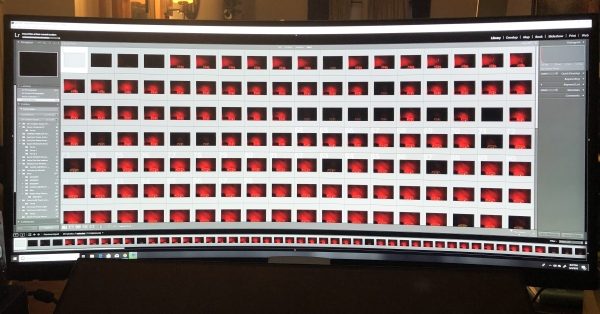
In my testing, I worked with Adobe Premiere, LightRoom, and Photoshop, as well as PortraitPro Studio as my main editing tools. This monitor performed flawlessly. The color reproduction was great and extremely close to being 100%”true”. I made sure that I left everything as it was right out of the box, and did not do any color calibration. The added desktop space 0f 3440 x 1440 @21:9 is really great to work with, and this 35″ monitor still seems massive when compared to my previous 29″ monitor.
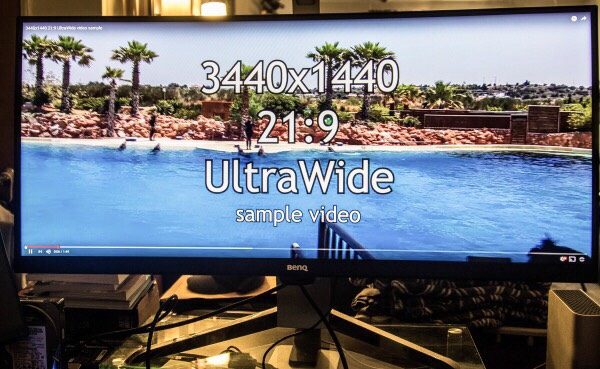
Here are some screenshots of the actual applications that I work with:



While I am not a gamer, I did test using a few gaming demos to see what they looked like on this display. While it may not be realistically visible in the pictures below, the colors are great from edge to edge, and I did not notice any kind of color bleeding or dead pixels in any scenario throughout my testing.

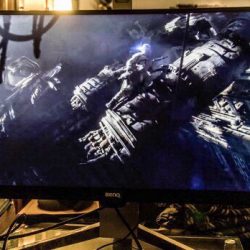
The refresh rate of this monitor works very well for all of my needs and for all of the applications that I work with. And since I work a lot with editing and rendering videos, that is a major help when rendering and utilizing “live view” simultaneously.
In terms of additional hardware functions, I also tested the audio output jack. The sound is very good and close to the sound I get from my external USB DAC. However, for my purposes, I did not find it practical to have the headphone cable draped across my desk from the bottom of the monitor. If the choice is to use the audio output from the monitor, I would suggest using a Bluetooth audio transmitter and receiver to make the connection wireless.
What I like
First of all, I absolutely love the size of this display. I also love the color reproduction and the refresh rate. The build quality is great and despite its size, this monitor is sturdy and stable. It performs very well for photo and video editing, as well as for watching movies and performing everyday tasks.
The only thing that could make me more overjoyed about a BenQ monitor like this is if/when I get the opportunity to test a 4K version. For me, the 4K capability would make a BenQ monitor like this the “above all” monitor for my use.
What can be improved
Since this monitor has a sizeable bezel, I think the design would work better if the control buttons are on the bottom right front face of the monitor. In my opinion, the design that places the buttons underneath the display where you have to feel for them, and either memorize their position or keep pressing buttons until you get the right ones is not practical unless there is at least a corresponding label on the front.
Final thoughts
Since I have always been a fan of BenQ monitors and their quality, I was expecting a whole lot in the design, build, and performance of this monitor, and it does not disappoint. While there is the issue of the location of the control buttons that I find inconvenient, that is as far as “MY” negatives go. We may all have a difference of opinion about a product like this, especially when it is a major part of the typical workflow experience. However, I would not hesitate in any way to recommend this monitor. Just like with my previous BenQ monitor that I purchased probably over 12 years ago, I am a fan.
Price: $849.00
Where to buy: Amazon and B&H Photo Video
Source: The sample for this review was provided by BenQ.
The post BenQ EX350IR Curved Monitor review appeared first on The Gadgeteer.
Filed in categories: Reviews
Tagged: Computer Gear, monitor
BenQ EX350IR Curved Monitor review originally appeared on The Gadgeteer on July 2, 2018 at 11:00 am.
Note: If you are subscribed to this feed through FeedBurner, please switch to our native feed URL http://the-gadgeteer.com/feed/ in order to ensure continuous delivery.


