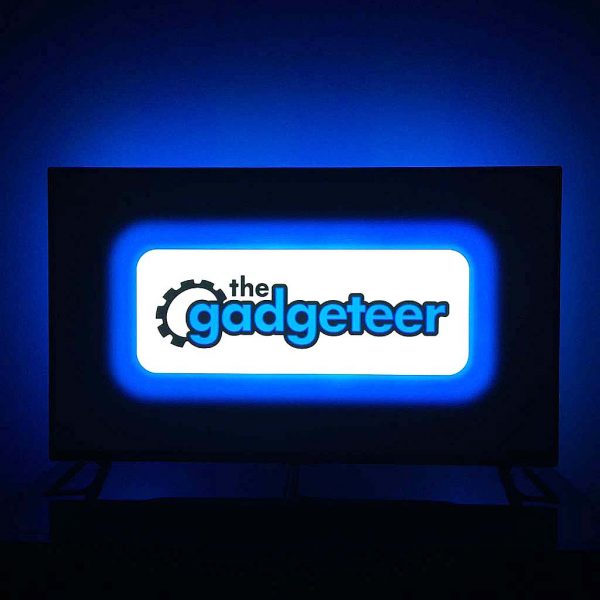
Every once in a while, a gadget comes along that, at first glance at least, appears to be basically superfluous and unnecessary…but cool and fun, nonetheless. That was exactly what I thought when I first saw the Power Practical Luminoodle Color Bias Lighting. Heck, just the name “Luminoodle” had my attention. Truth be told, I’d actually been seeing these LED strips for a while and thought I might like to try one, so when Julie offered the Luminoodle to review, I was gleefully all over it. Let’s check it out! Gadget on!
Specs
- LED rating: 50,000 hours
- Light output: 450 Lumens
- USB input: 5 Watts (5 Volts, 1 Amp)
- 3M adhesive backing
- 15 colors
- Warranty: 1 year
Options
- Small (1 meter) – $19.99
- Medium (2 meters) – $24.99 (reviewed here)
- Large (3 meters) – $29.99
Packaging
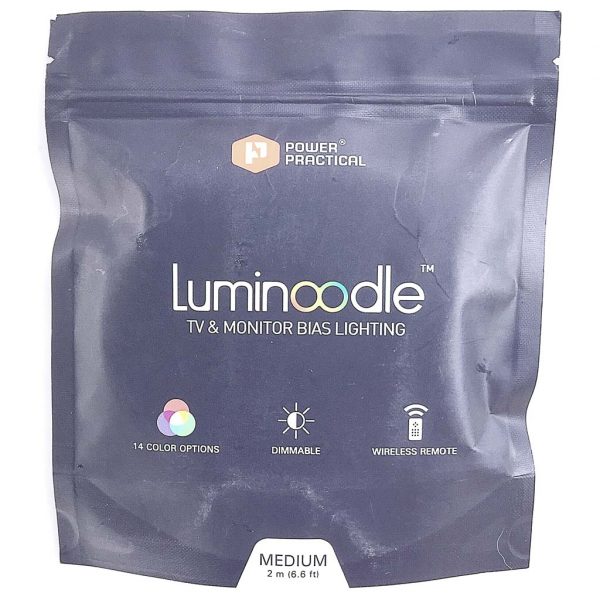 The Luminoodle arrived in a slim plastic zip-closure pouch with a tear-off opening.
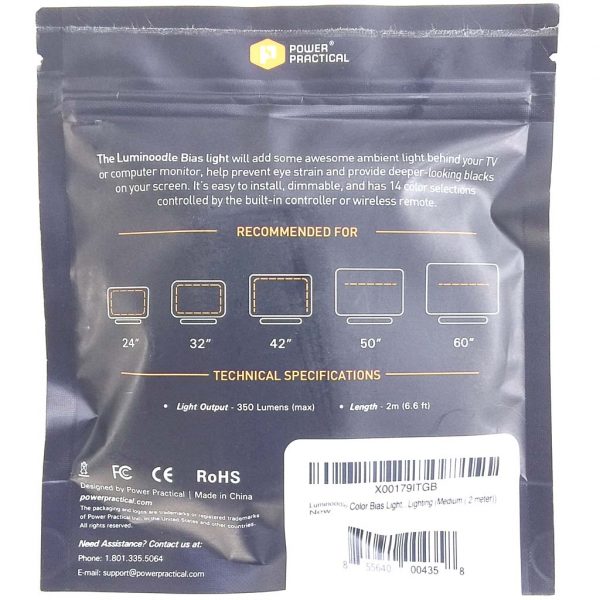 The back of the pouch depicted a brief explanation of installation configurations for the product inside.
Contents
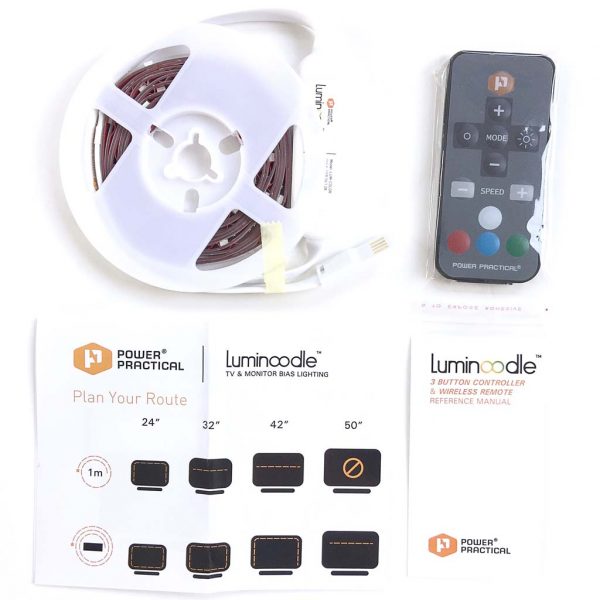
- 2-meter Luminoodle on a spool
- Wireless remote
- Luminoodle instruction booklet
- Remote instruction booklet
Features & Functions
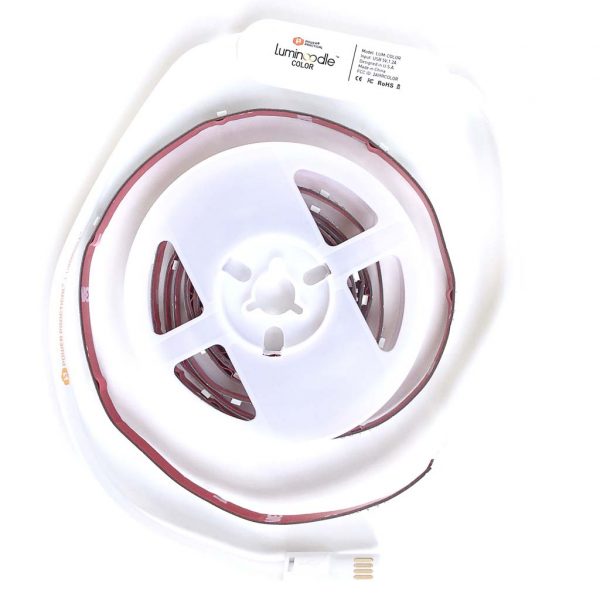
The Luminoodle wireless remote has multiple buttons used to control its various functions. 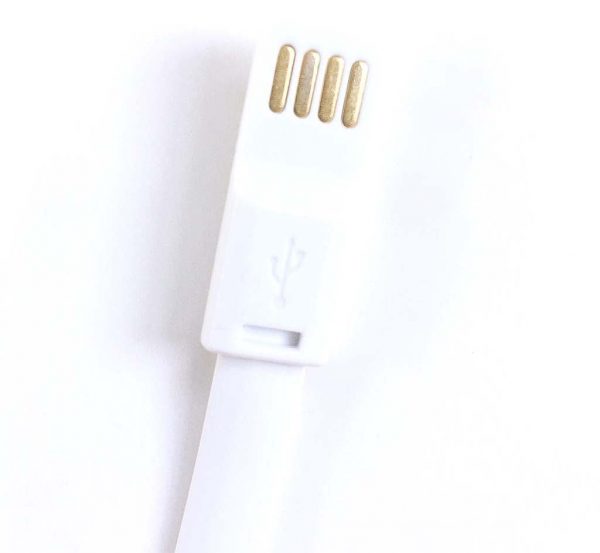 The Luminoodle is powered by plugging it into a standard USB port. Bonus: this is a reversible USB plug!
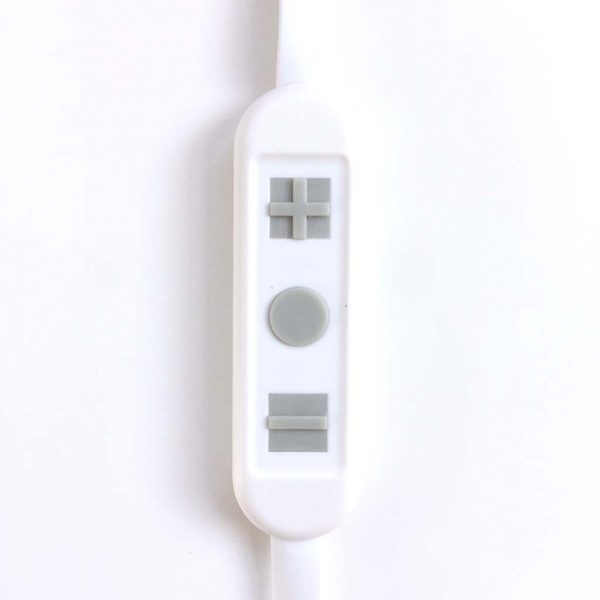 The Luminoodle can be controlled with a simple in-line remote that includes three buttons, as shown above.
  Above is a closeup of a segment of the Luminoodle’s ribbon cable. The Luminoodle’s color illumination is driven by sets of RGB (Red Green Blue) LEDs. NOTE: If for some reason you need to trim off the excess length of cable, the Luminoodle can be cut at any of the points where the “+GRB” copper connectors are located, as seen on the right side of the image above.
 As shown above, the Luminoodle utilizes some high-strength 3D tape to attach to the back of a TV, computer monitor or any other surface.
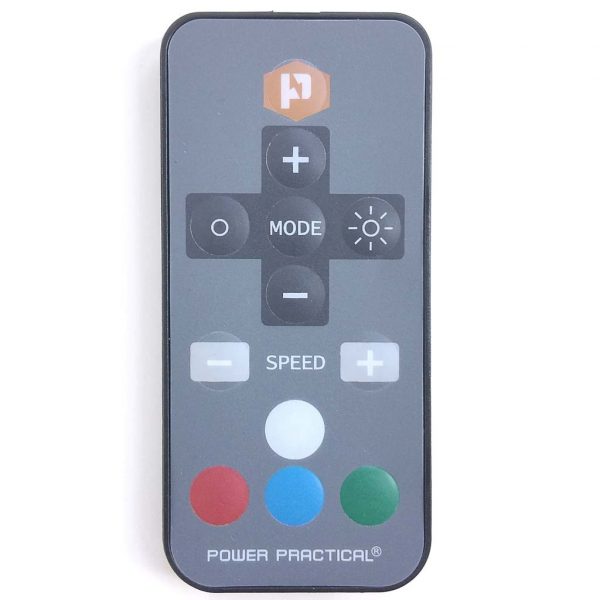
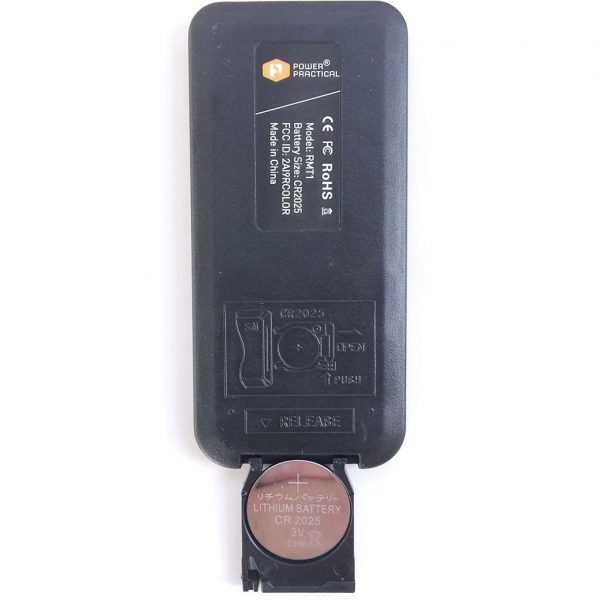 The wireless remote is powered by a single CR 2025 3V lithium battery. The battery is simple to change; it fits into a small tray that slides into the bottom of the remote.
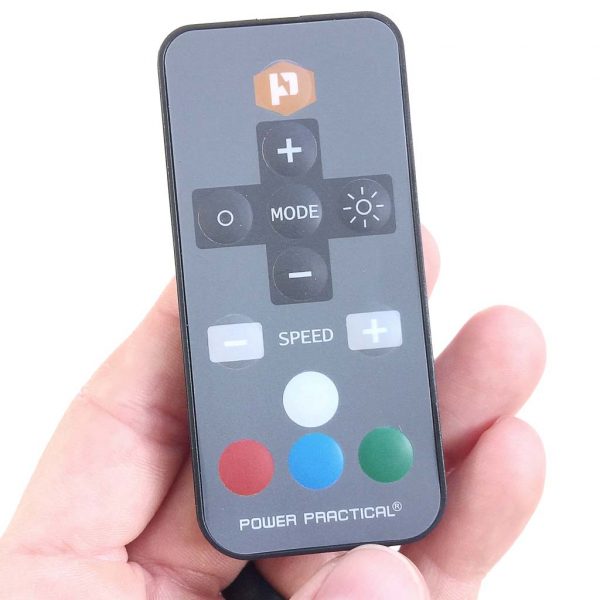 The wireless remote is quite small and thin and very lightweight.
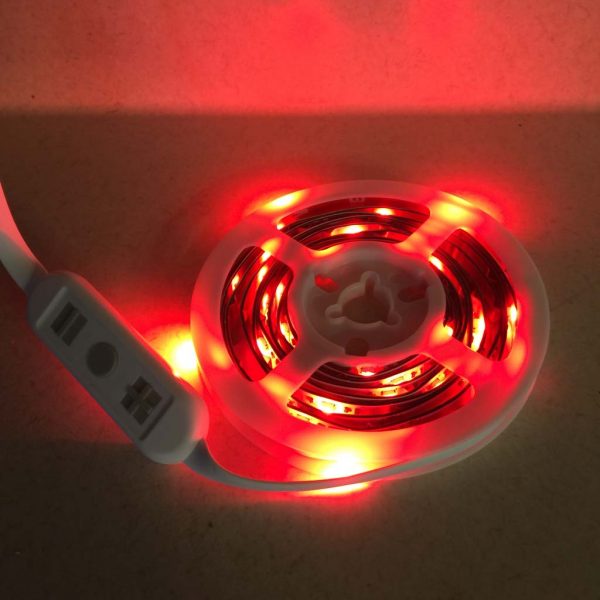
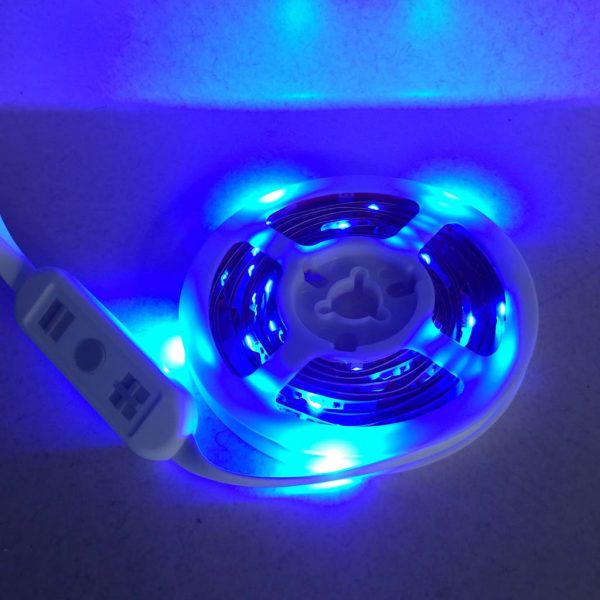
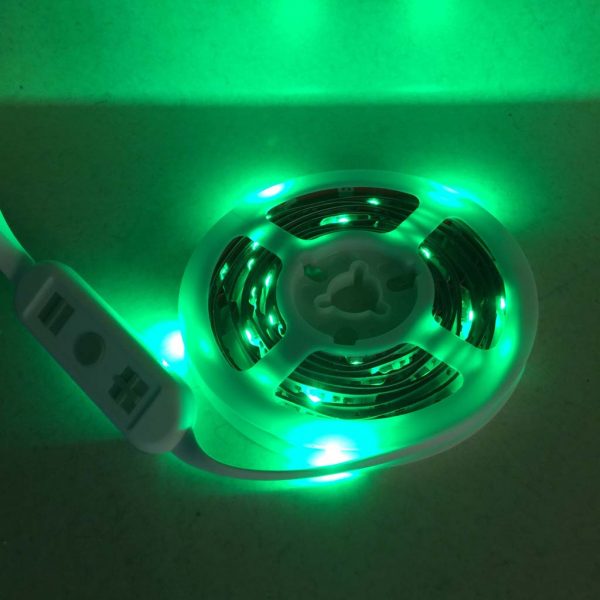
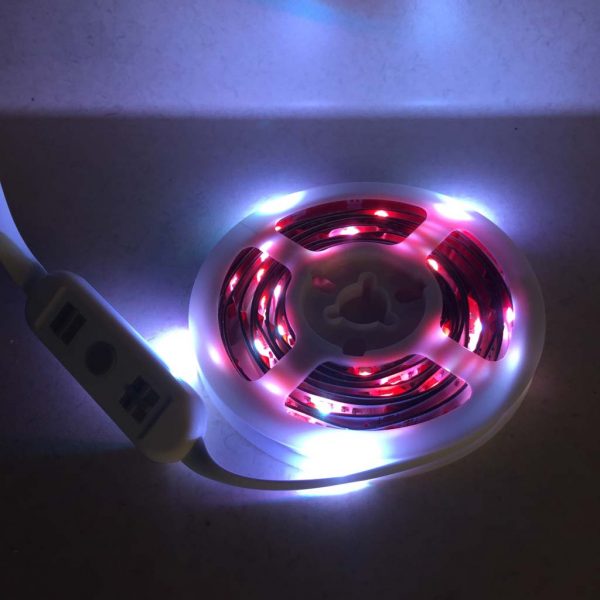 Almost immediately upon opening the pouch, I just had to power up the Luminoodle. Without even removing it from the spool, I plugged the Luminoodle into an iPad power adapter and cycled through its four primary colors: white (above) and red, blue and green (all below). I literally giggled to myself—it was already pretty fun, and I hadn’t even installed it yet.
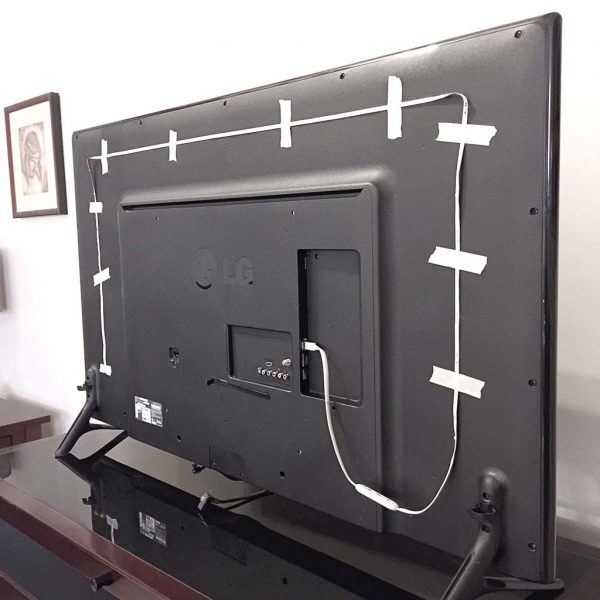 I began the installation process by turning my TV around so that I could access its rear. My TV measures 55 inches diagonally, and the Luminoodle I was sent was 2 meters in length, so I figured it would wrap around most of the back of my TV, but probably not in a full loop. Next, I carefully dusted the back of the TV to help the adhesive backing adhere better. Then I used some masking tape to mock up where I would ultimately place the Luminoodle (see above image). After a few adjustments to make it as symmetrical as I could, I was satisfied.
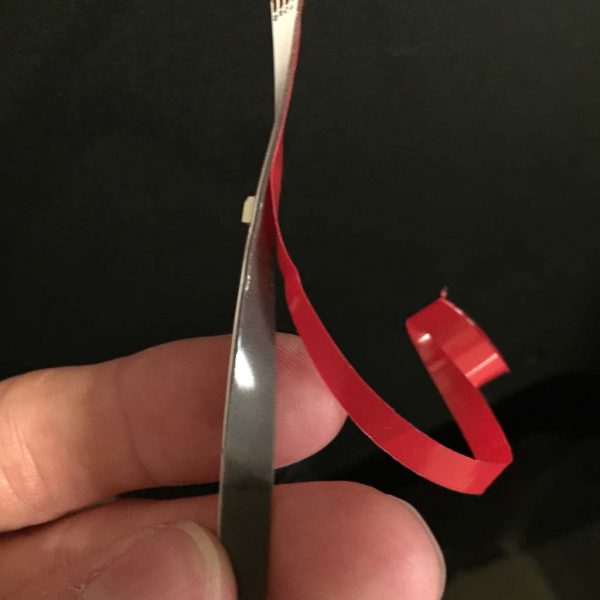 Once I was happy with the Luminoodle’s placement, I began peeling the red backing from the 3M tape, exposing its adhesive side, as shown above. I quickly realized that this particular tape was actually a double-stick type and very grippy, which I saw as a good thing—I wouldn’t have to worry about the Luminoodle spontaneously falling off of my TV. Also, it took me a few minutes to be able to peel the backing off without pulling the tape itself off of the ribbon cable, but once I got it started, it was fine.
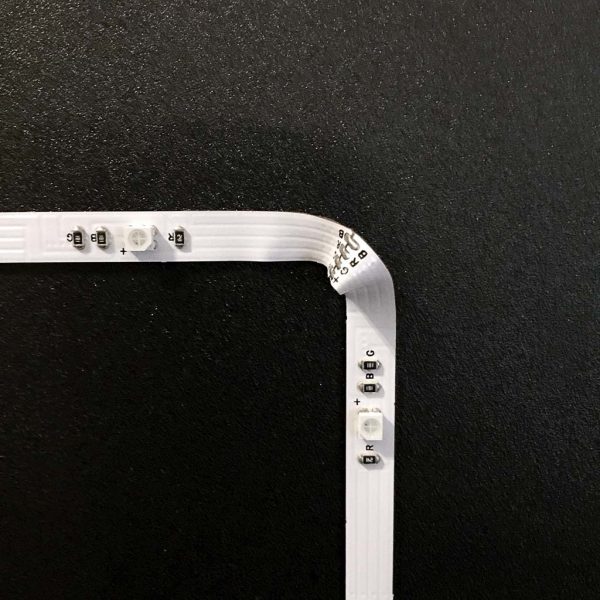 The only challenging part about attaching the Luminoodle was the corners. Because the Luminoodle is basically a flat ribbon cable, it was impossible to get it to form a curve shape. Therefore, I had to improvise by putting a small fold or crimp in each of the two corners, as seen in the images above and below. NOTE: In re-reviewing the instructions, maybe I didn’t do this correctly, but it seemed to work for me.
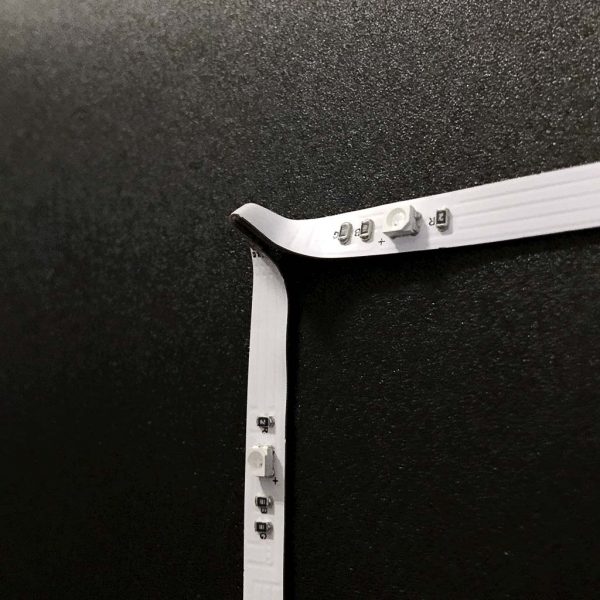 I am still a bit concerned that these corner crimps may result in a short-circuit over time, but considering that the Luminoodle on either side of the crimps is stationary and well-fixed as a result of the 3M adhesive tape, I don’t expect this to become an issue.
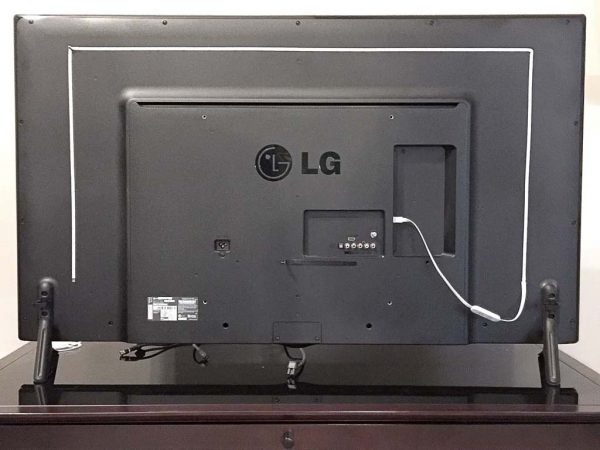 Above is a photo of the fully-installed Luminoodle. This 2-meter long Luminoodle model ended up covering around 2/3 of the perimeter of the rear of my 55-inch diagonal TV, which I was happy with. For TVs of different sizes, Luminoodle offers different lengths.
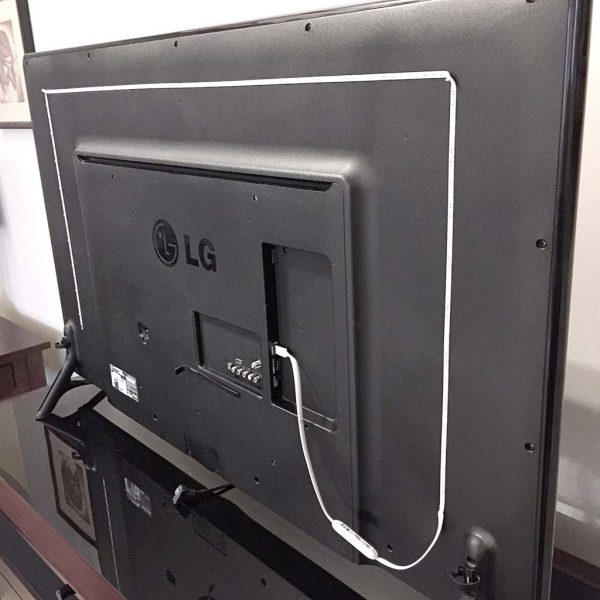 Above, another view of the installed Luminoodle. I should note that taking the time to mock up the location with the masking tape actually made the final installation go very quickly.
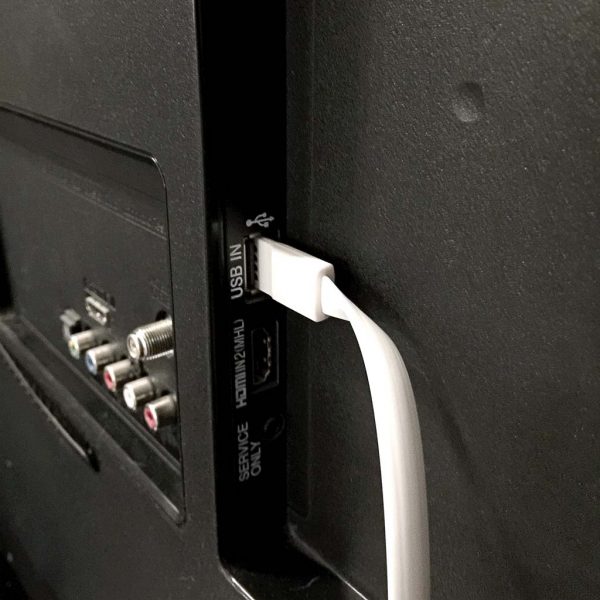 Above, a photo of the Luminoodle’s reversible USB power connector plugged into the USB port on the back of my TV. Because it is USB-powered, the Luminoodle can be plugged into not only a TV, as I’ve done here, but a USB port on a monitor, computer or even a wall USB adapter as I showed up above. However, plugging the Luminoodle into a TV, monitor or computer allows it to power on and off whenever you use these devices.
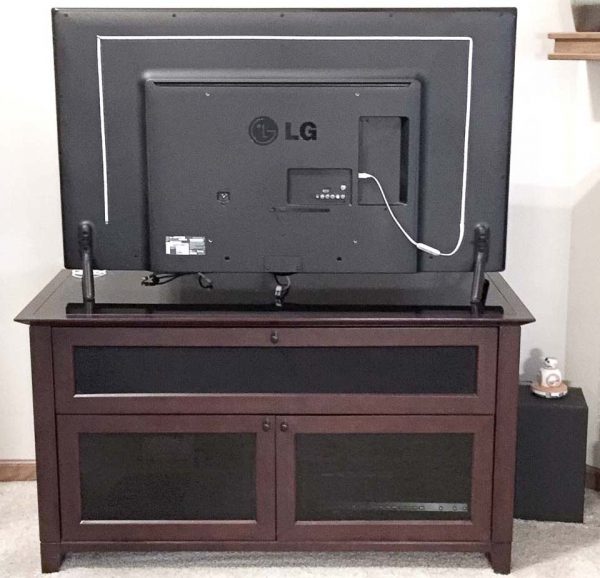
Above, one more shot of the installed Luminoodle before I spun it back around. Even BB-8 is anxious to see the Luminoodle in action.
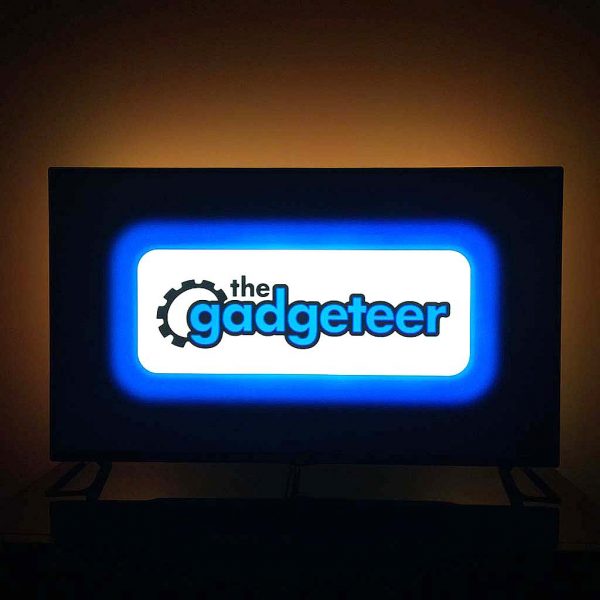
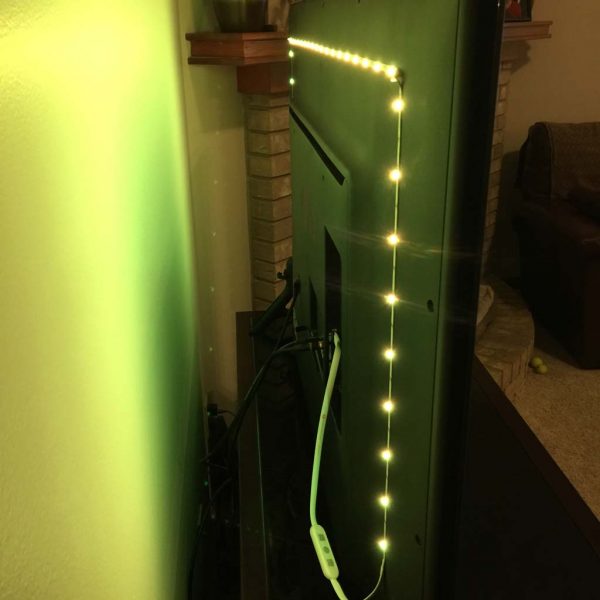 Above and in the next several pics are a teaser to give an idea of just how much illumination the Luminoodle can output.
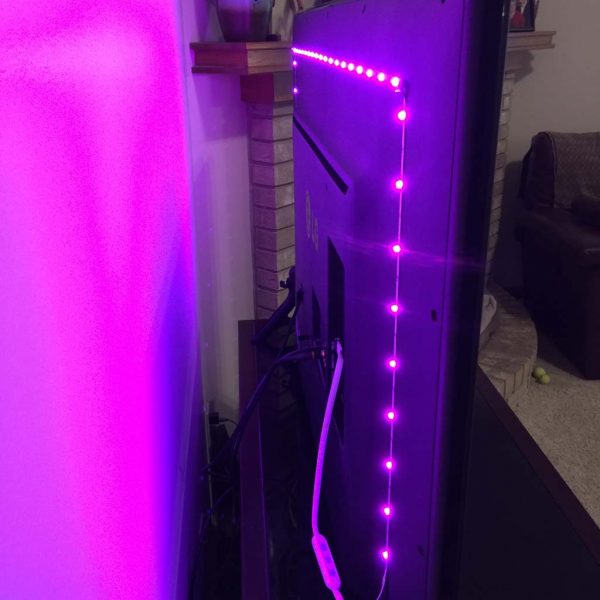
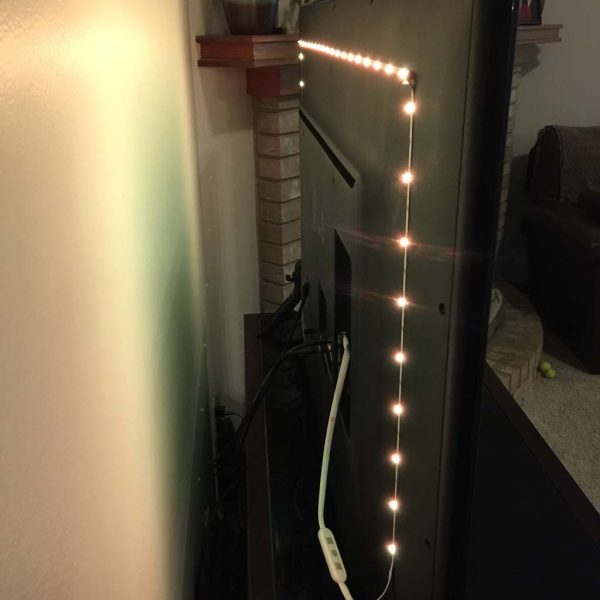
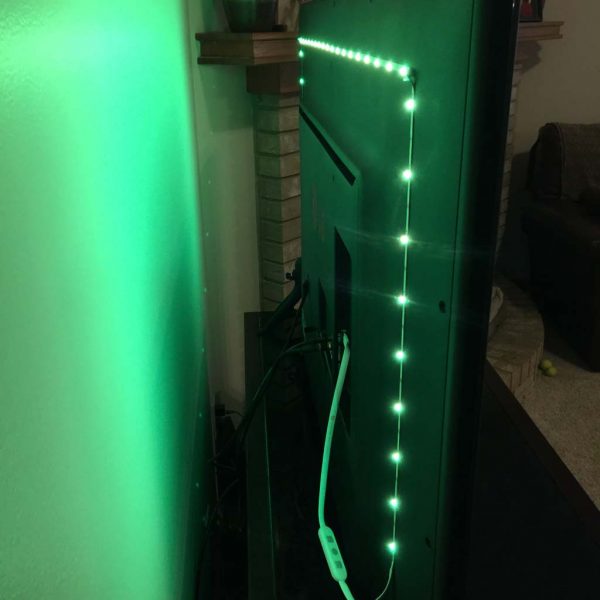
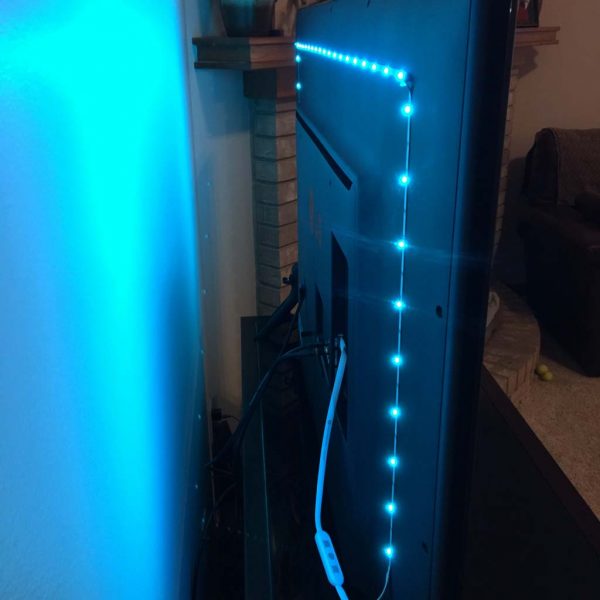
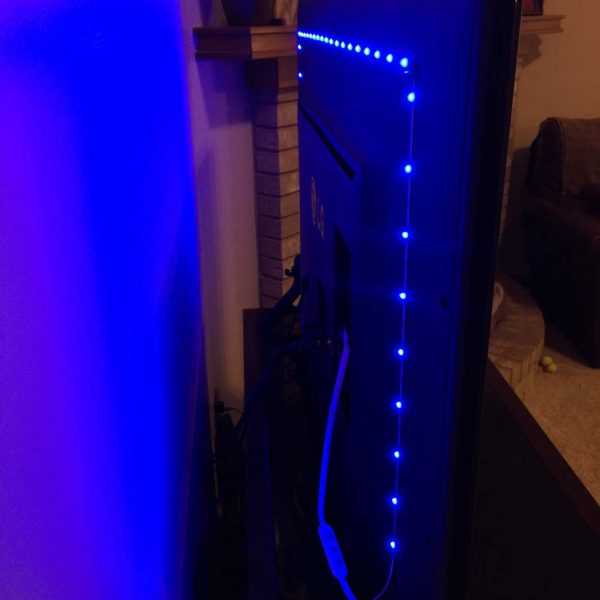
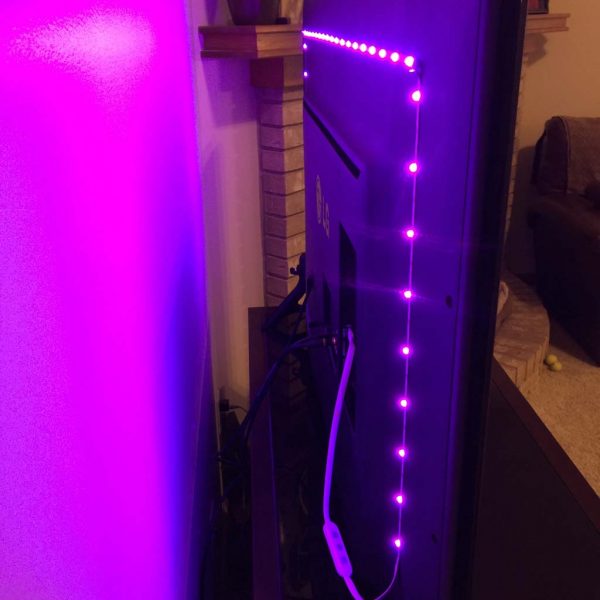
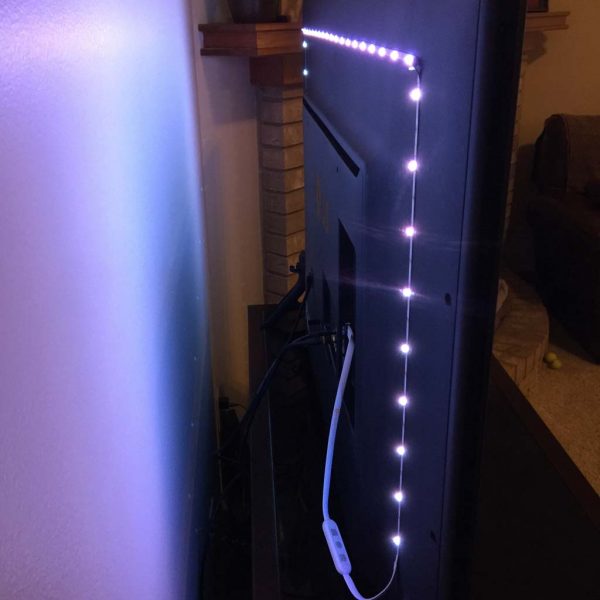
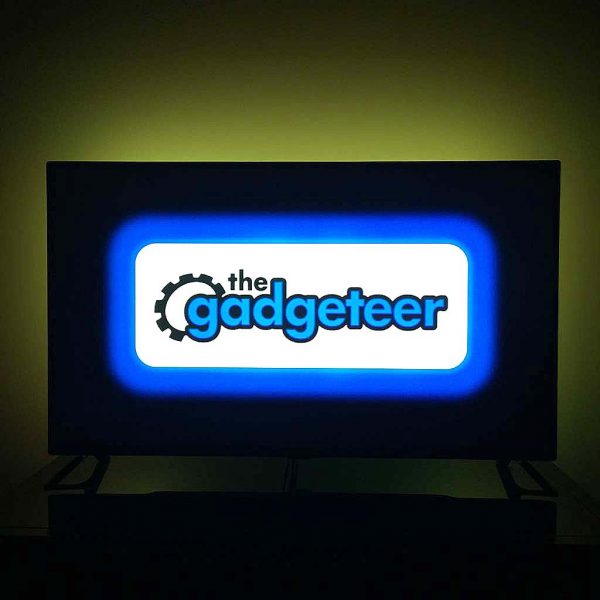
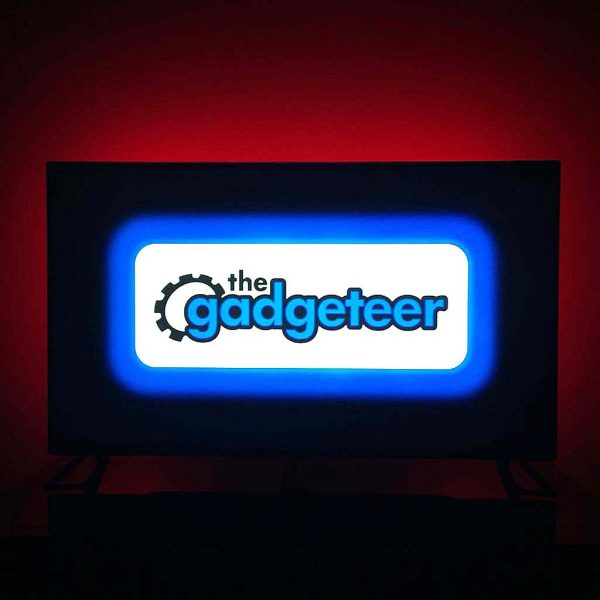
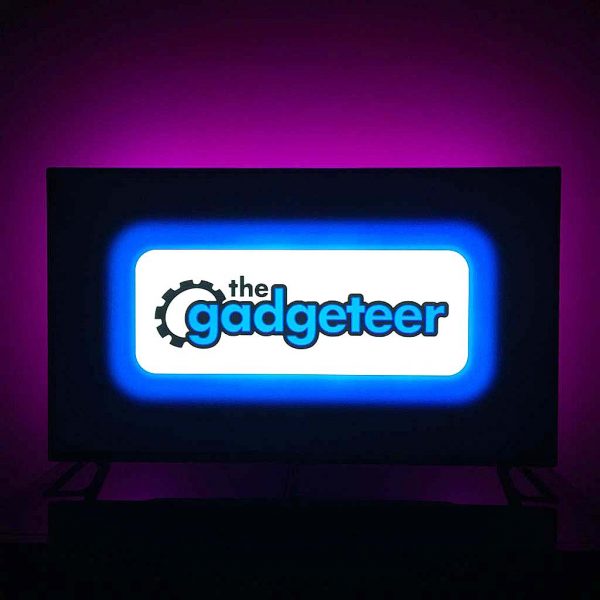
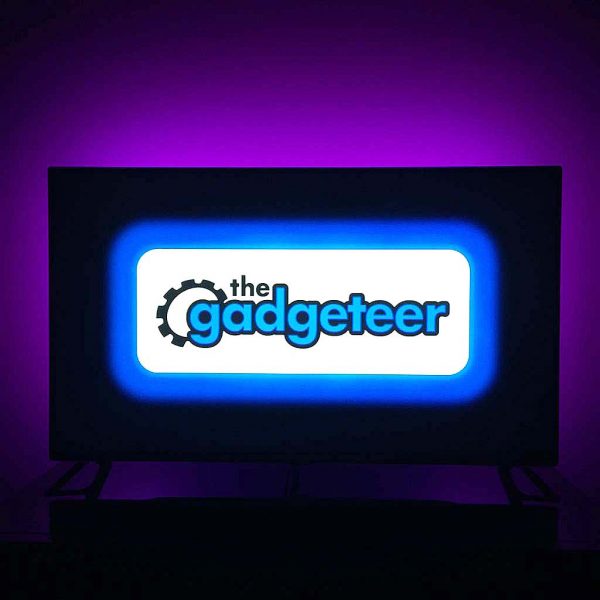
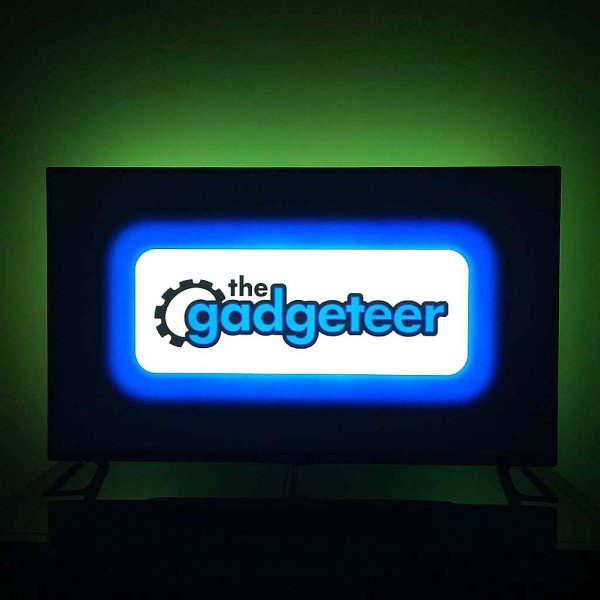
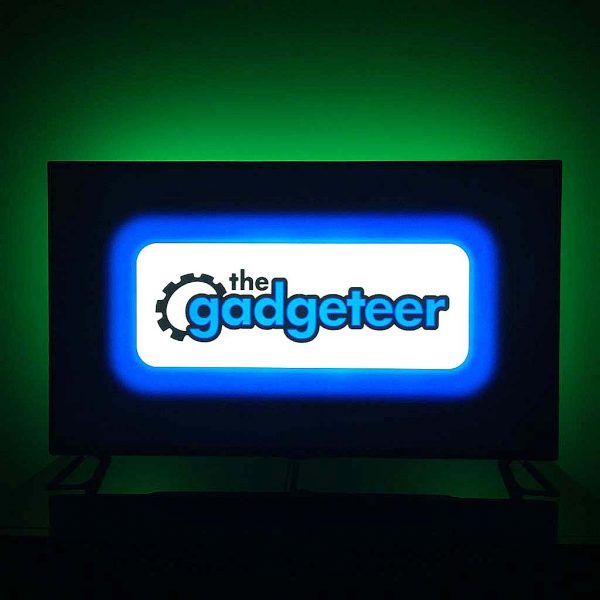
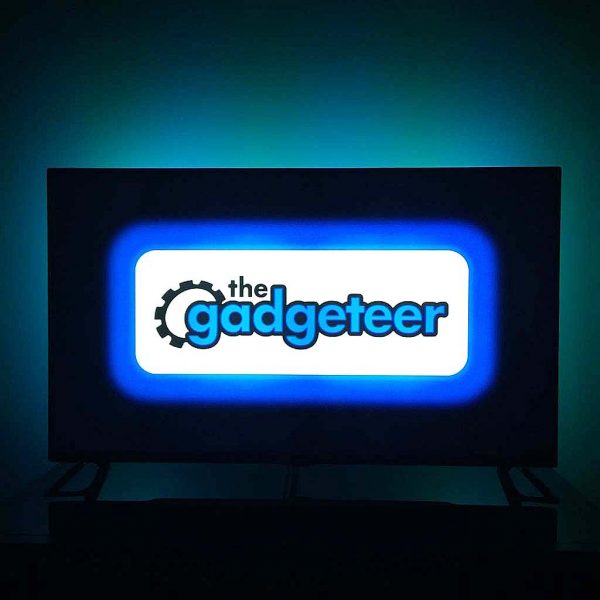
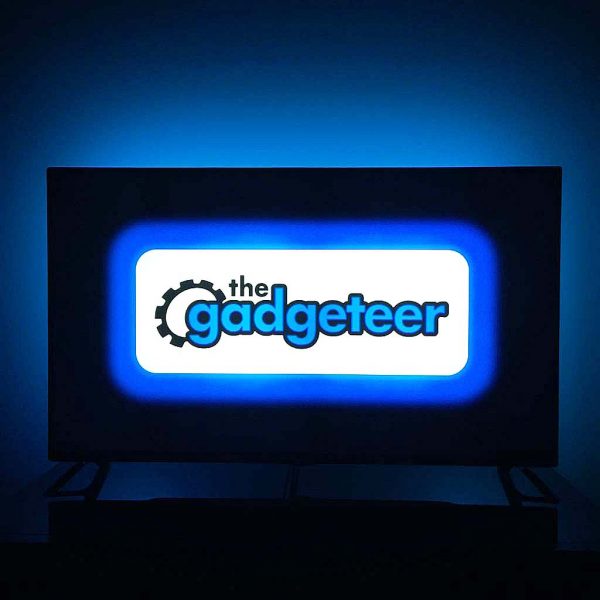
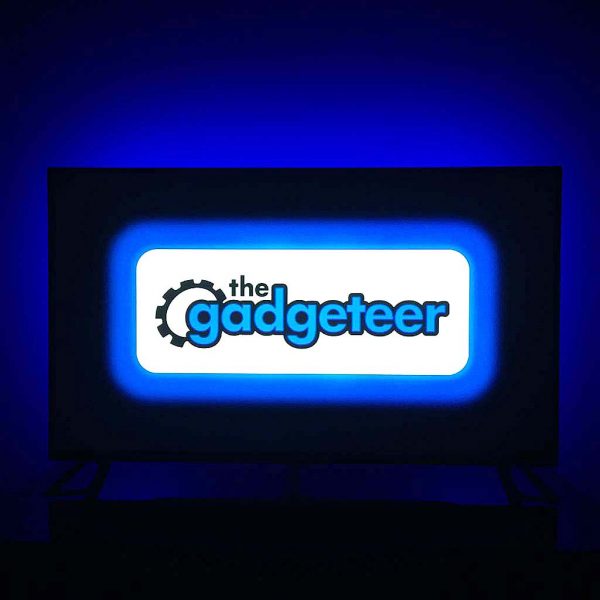
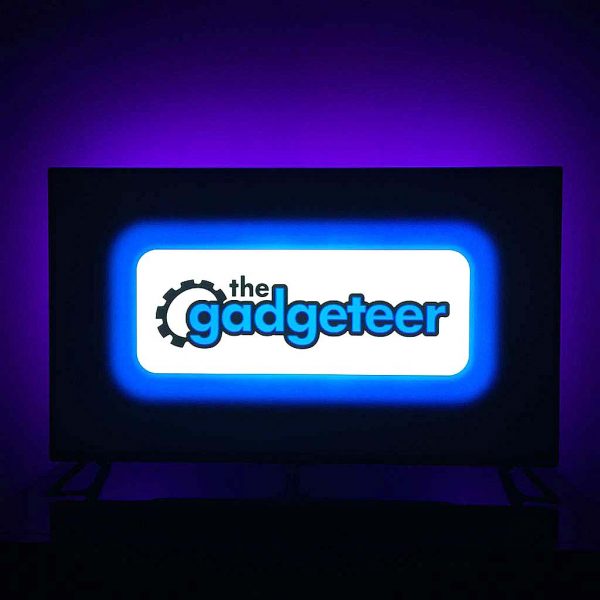
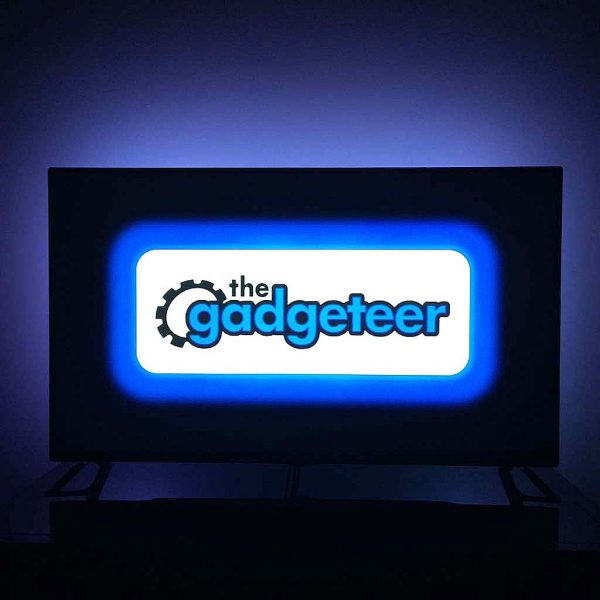
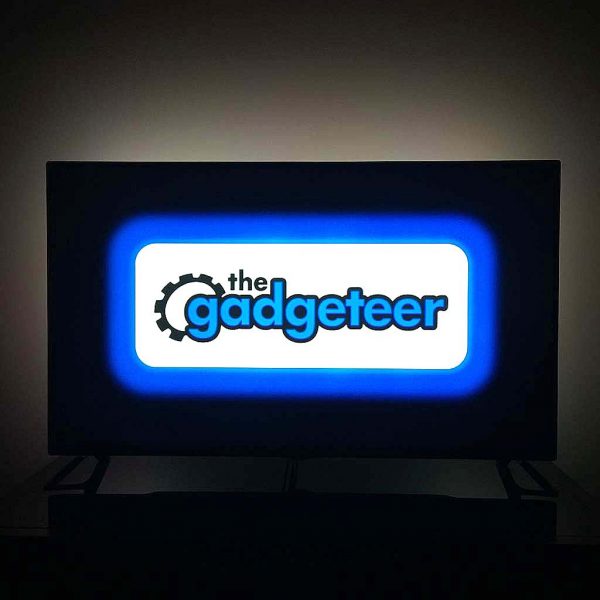 The Luminoodle has 14 different color modes plus white, warm white and cool white, and I’ve attempted to show a pic of each of them here (though I may have missed a few!). In addition to being able to change colors, Luminoodle also has 10 dimmer levels, and I’ve shown the brightest of them here because the lowest level didn’t come through well on photos. And finally, the Luminoodle also has 4 modes. You can manually switch from color to color, you can have Luminoodle slowly cycle from color to color (or “Crossfade,” the mode I like best while watching TV), or you can have Luminoodle pulsate rapidly from color to color like a strobe light (party mode!), either in a single or all colors, and you can even control the speed. The Power Practical folks tout Luminoodle’s ability to help reduce eye strain and dryness by providing a gentle ambient backlighting. To me, this is at least a plausible concept but I have to say that I wasn’t really able to prove it either way.

Conclusion
OK, the Power Practical Luminoodle Color Bias Lighting is just plain fun. It was easier to install than I expected (and even installation was kind of fun), and the wireless remote made it even more fun to cycle through its many colors, brightness levels, and modes. I’m not completely sure about the claim of making my TV’s picture’s darks darker to reduce eye strain and dryness. Maybe Luminoodle can help with that, maybe not. All I know is, Luminoodle is easy to install and fun to use.
Source: The sample for this review was provided by Power Practical. Please visit powerpractical.com for more info and Amazon to order.
Product Information
| Price: |
$19.99 (1 meter), $24.99 (2 meters), $29.99 (3 meters) |
| Manufacturer: |
Power Practical |
| Retailer: |
Amazon |
| Requirements: |
- A USB port to power the Luminoodle itself
- A single CR 2025 3V lithium battery to power the wireless remote
|
| Pros: |
- FUN
- Easy to install
- Lots of colors and modes
|
| Cons: |
- Can only be installed once
|
Filed in categories: Reviews
Tagged: LED lighting, TV accessory
Power Practical Luminoodle Color Bias Lighting review originally appeared on The Gadgeteer on November 2, 2017 at 10:00 am.
Note: If you are subscribed to this feed through FeedBurner, please switch to our native feed URL http://the-gadgeteer.com/feed/ in order to ensure continuous delivery.


 The Luminoodle arrived in a slim plastic zip-closure pouch with a tear-off opening.
 The back of the pouch depicted a brief explanation of installation configurations for the product inside.

 The Luminoodle is powered by plugging it into a standard USB port. Bonus: this is a reversible USB plug!
 The Luminoodle can be controlled with a simple in-line remote that includes three buttons, as shown above.
  Above is a closeup of a segment of the Luminoodle’s ribbon cable. The Luminoodle’s color illumination is driven by sets of RGB (Red Green Blue) LEDs. NOTE: If for some reason you need to trim off the excess length of cable, the Luminoodle can be cut at any of the points where the “+GRB” copper connectors are located, as seen on the right side of the image above.
 As shown above, the Luminoodle utilizes some high-strength 3D tape to attach to the back of a TV, computer monitor or any other surface.
 The wireless remote is powered by a single CR 2025 3V lithium battery. The battery is simple to change; it fits into a small tray that slides into the bottom of the remote.
 The wireless remote is quite small and thin and very lightweight.
 Almost immediately upon opening the pouch, I just had to power up the Luminoodle. Without even removing it from the spool, I plugged the Luminoodle into an iPad power adapter and cycled through its four primary colors: white (above) and red, blue and green (all below). I literally giggled to myself—it was already pretty fun, and I hadn’t even installed it yet.


 I began the installation process by turning my TV around so that I could access its rear. My TV measures 55 inches diagonally, and the Luminoodle I was sent was 2 meters in length, so I figured it would wrap around most of the back of my TV, but probably not in a full loop. Next, I carefully dusted the back of the TV to help the adhesive backing adhere better. Then I used some masking tape to mock up where I would ultimately place the Luminoodle (see above image). After a few adjustments to make it as symmetrical as I could, I was satisfied.
 Once I was happy with the Luminoodle’s placement, I began peeling the red backing from the 3M tape, exposing its adhesive side, as shown above. I quickly realized that this particular tape was actually a double-stick type and very grippy, which I saw as a good thing—I wouldn’t have to worry about the Luminoodle spontaneously falling off of my TV. Also, it took me a few minutes to be able to peel the backing off without pulling the tape itself off of the ribbon cable, but once I got it started, it was fine.
 The only challenging part about attaching the Luminoodle was the corners. Because the Luminoodle is basically a flat ribbon cable, it was impossible to get it to form a curve shape. Therefore, I had to improvise by putting a small fold or crimp in each of the two corners, as seen in the images above and below. NOTE: In re-reviewing the instructions, maybe I didn’t do this correctly, but it seemed to work for me.
 I am still a bit concerned that these corner crimps may result in a short-circuit over time, but considering that the Luminoodle on either side of the crimps is stationary and well-fixed as a result of the 3M adhesive tape, I don’t expect this to become an issue.
 Above is a photo of the fully-installed Luminoodle. This 2-meter long Luminoodle model ended up covering around 2/3 of the perimeter of the rear of my 55-inch diagonal TV, which I was happy with. For TVs of different sizes, Luminoodle offers different lengths.
 Above, another view of the installed Luminoodle. I should note that taking the time to mock up the location with the masking tape actually made the final installation go very quickly.
 Above, a photo of the Luminoodle’s reversible USB power connector plugged into the USB port on the back of my TV. Because it is USB-powered, the Luminoodle can be plugged into not only a TV, as I’ve done here, but a USB port on a monitor, computer or even a wall USB adapter as I showed up above. However, plugging the Luminoodle into a TV, monitor or computer allows it to power on and off whenever you use these devices.
 Above and in the next several pics are a teaser to give an idea of just how much illumination the Luminoodle can output.


 The Luminoodle has 14 different color modes plus white, warm white and cool white, and I’ve attempted to show a pic of each of them here (though I may have missed a few!). In addition to being able to change colors, Luminoodle also has 10 dimmer levels, and I’ve shown the brightest of them here because the lowest level didn’t come through well on photos. And finally, the Luminoodle also has 4 modes. You can manually switch from color to color, you can have Luminoodle slowly cycle from color to color (or “Crossfade,” the mode I like best while watching TV), or you can have Luminoodle pulsate rapidly from color to color like a strobe light (party mode!), either in a single or all colors, and you can even control the speed. The Power Practical folks tout Luminoodle’s ability to help reduce eye strain and dryness by providing a gentle ambient backlighting. To me, this is at least a plausible concept but I have to say that I wasn’t really able to prove it either way.


